Good baking supplies storage makes a small kitchen feel twice as big. When flour bags slump in a corner, pans stack in a wobbly pile, and measuring cups hide in three different drawers, even a simple batch of muffins turns into a search mission. The fix is not more cabinets. The fix is giving every item a clear, easy-to-reach home.
The 13 ideas below work in rentals, apartments, and compact houses. Most take 15 to 45 minutes to set up, cost little or nothing, and use space that is usually wasted, like cabinet doors, deep corners, and the gap above a shelf. Start at the top and stop when the kitchen feels calm.
1. Start Your Baking Supplies Storage With a Quick Edit
1. Group items by baking task. Pull everything out and sort it into piles: dry ingredients, pans, mixing tools, and decorating items. This takes about 20 minutes. Seeing four piles makes it obvious what is used weekly and what can move to a harder-to-reach spot.
2. Remove duplicates and bulky boxes. Keep one set of measuring cups and one set of spoons in the main zone. Store extras, seasonal cookie cutters, and rarely used specialty pans in a labeled bin on a high shelf or in a closet. Removing original boxes alone can free 2 to 4 inches of shelf width per item.
2. Baking Supplies Storage for Dry Ingredients
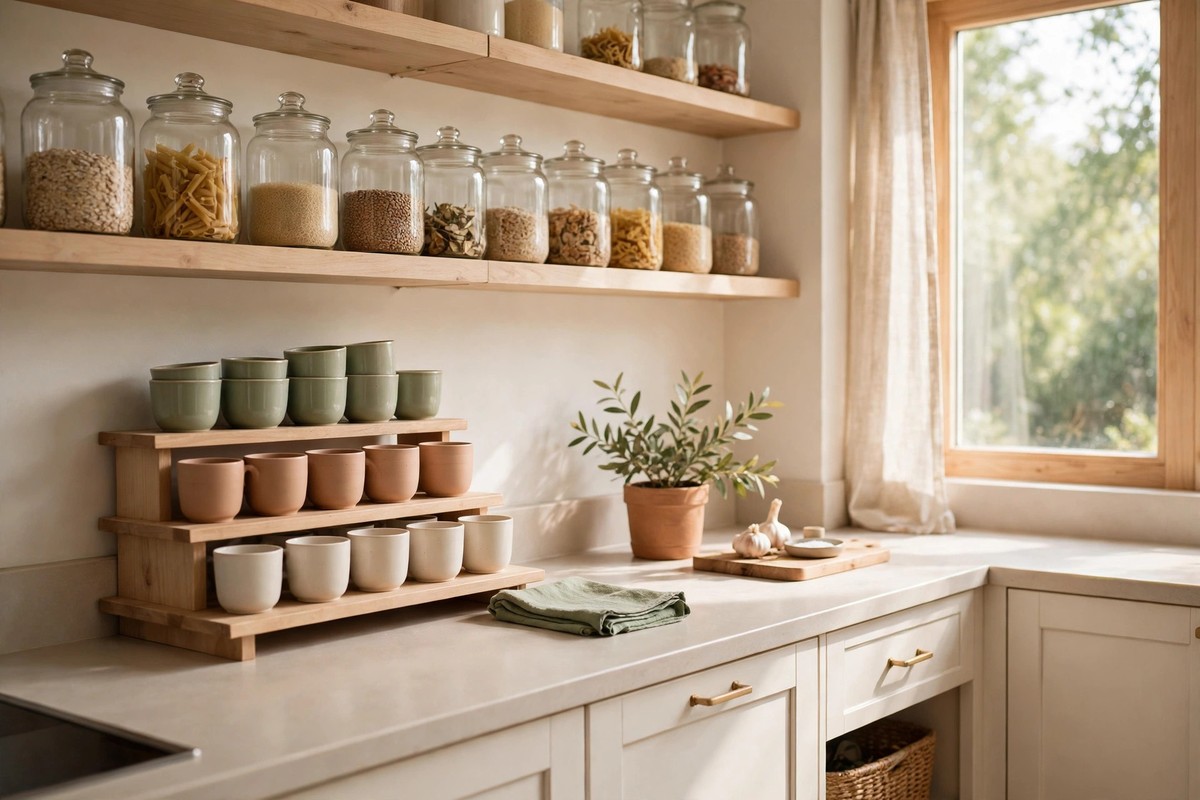
3. Decant flour and sugar into clear, square containers. Square containers sit flush, so no curved gaps are wasted. A 4-quart container holds a standard 5-pound bag of flour. Line containers up with labels facing out, and add the opening date on a piece of tape on the bottom.
4. Use one shallow bin as a baking center. Place baking powder, baking soda, salt, vanilla, and cocoa in a single bin about 12 inches long and 4 inches high. The whole bin pulls out like a drawer, so nothing gets lost at the back of a deep cabinet.
5. Store brown sugar and powdered sugar in smaller containers in front. These are used less often but spill easily. Containers in the 1- to 2-quart size keep them sealed and visible, and placing them in front of taller jars prevents a reach-over spill.
3. Make Cabinets Work Harder
6. Add a shelf riser to split one tall space into two. Many cabinets waste 6 to 8 inches of air above short items. A riser about 10 inches wide creates a second level for spice-size baking items, cupcake liners, and small bowls, while mixing bowls sit underneath.
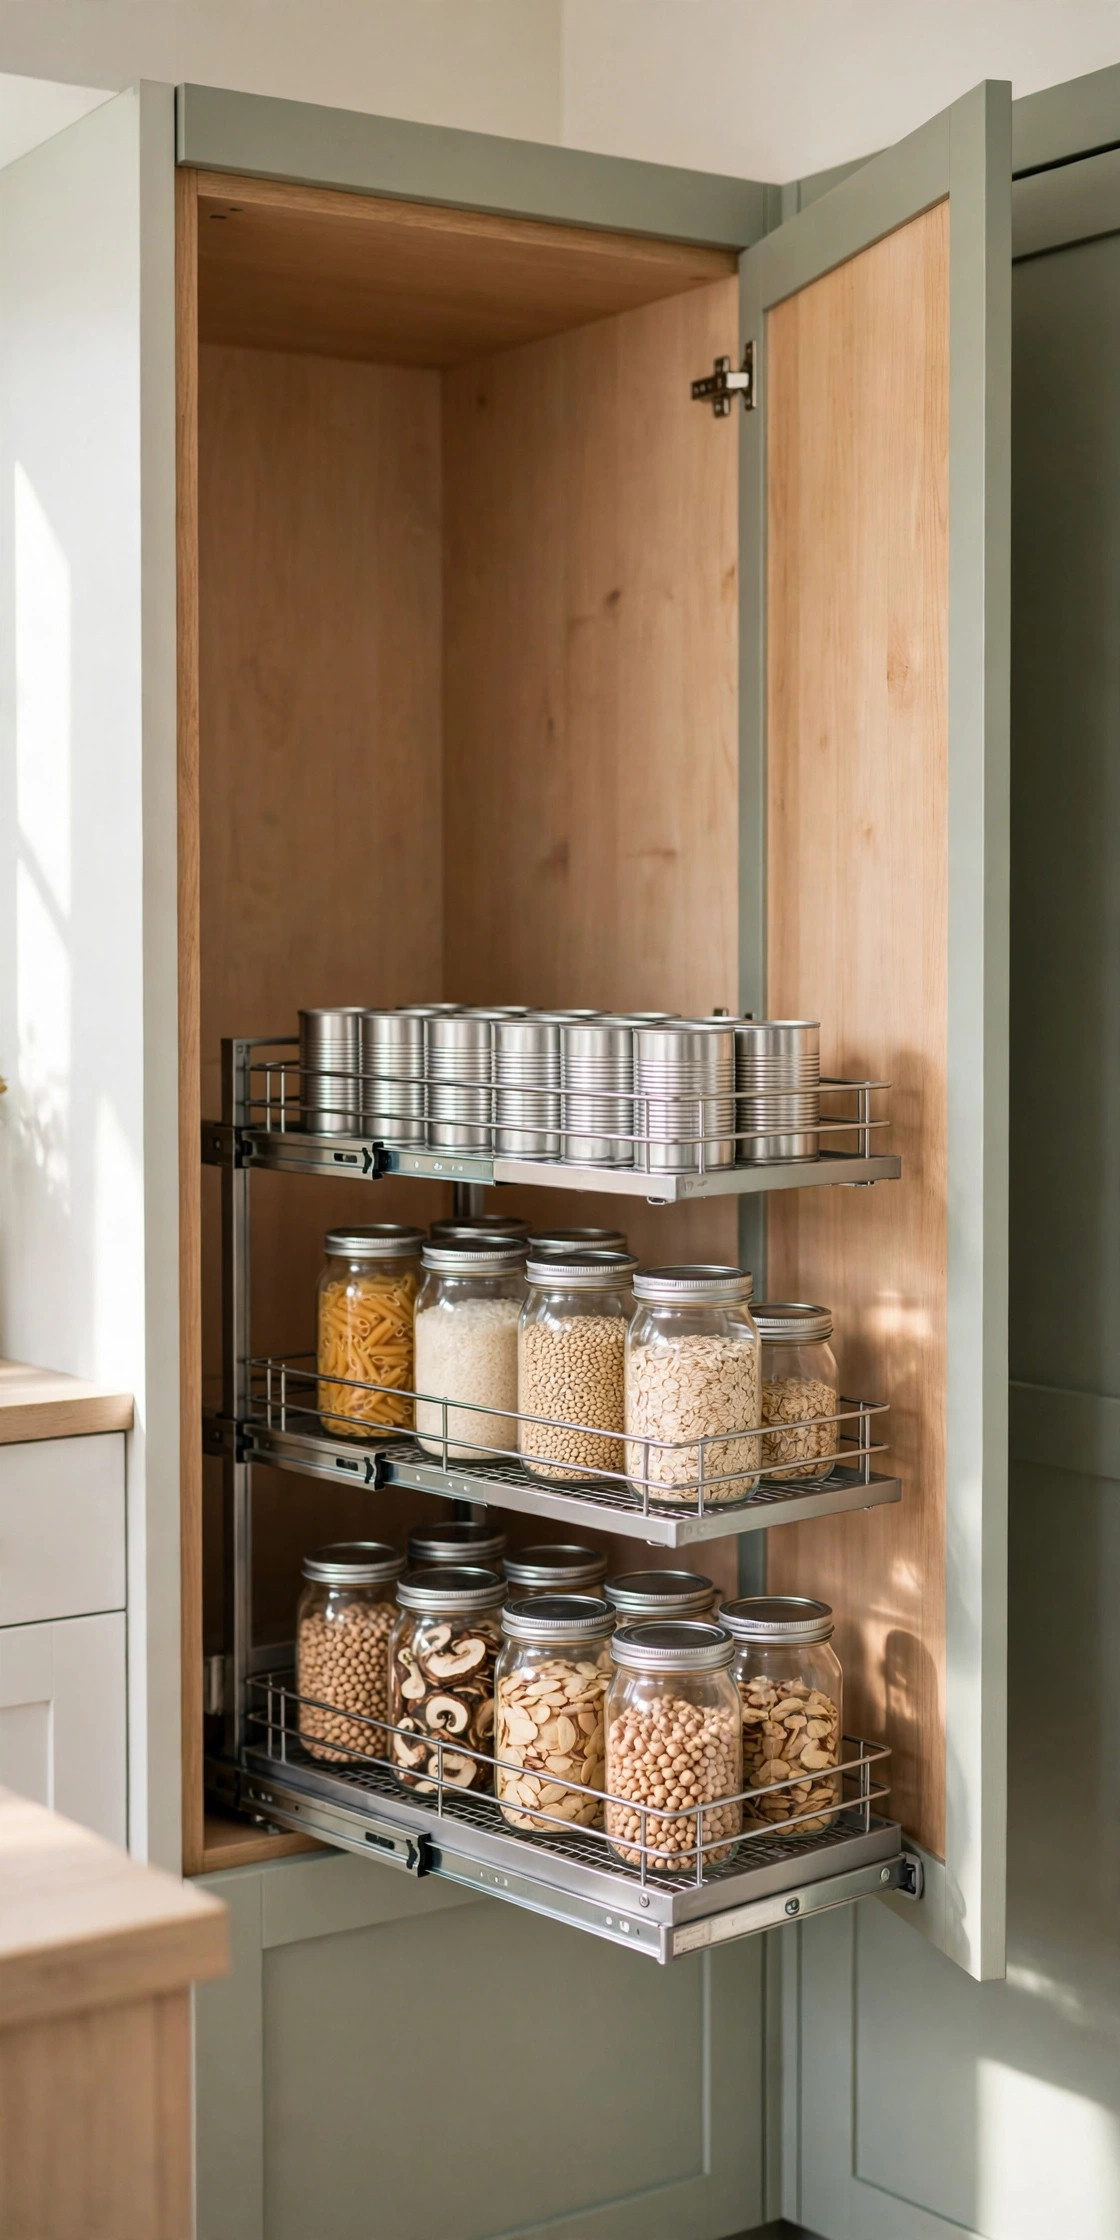
7. Put a small turntable in a deep corner. A turntable 10 to 12 inches wide turns a dead corner into usable space. Use it for oils, syrups, and extracts. One spin brings the back item to the front, with no unloading of the whole shelf.
8. Hang measuring cups and spoons inside a cabinet door. Small adhesive hooks spaced 2 inches apart hold cups, spoons, and a whisk on the inside of a door. This frees a drawer and keeps the most-used tools at eye level. Check that the door still closes fully before adding a second row.
4. Store Pans So They Slide, Not Stack
9. File sheet pans and cutting boards upright. Stand baking sheets, muffin tins, and cooling racks on their edges in a 4- to 6-inch-wide section of a cabinet, like files in a drawer. Upright storage means the needed pan slides out without lifting three others first.
10. Nest round pans and store lids separately. Cake pans and mixing bowls nest well, but loose lids waste space. Keep lids in a narrow vertical slot beside the pans, or in the door system from idea 8. Nesting three pans can save about 5 inches of stack height.
5. Use Drawers and Walls for Small Tools
11. Give one drawer a clear bin layout. A shallow drawer divided into clear bins keeps spatulas, thermometers, piping tips, and timers sorted. Bins in the 3- to 5-inch range fit most small tools. If a tool has no bin, it probably does not belong in the main drawer.
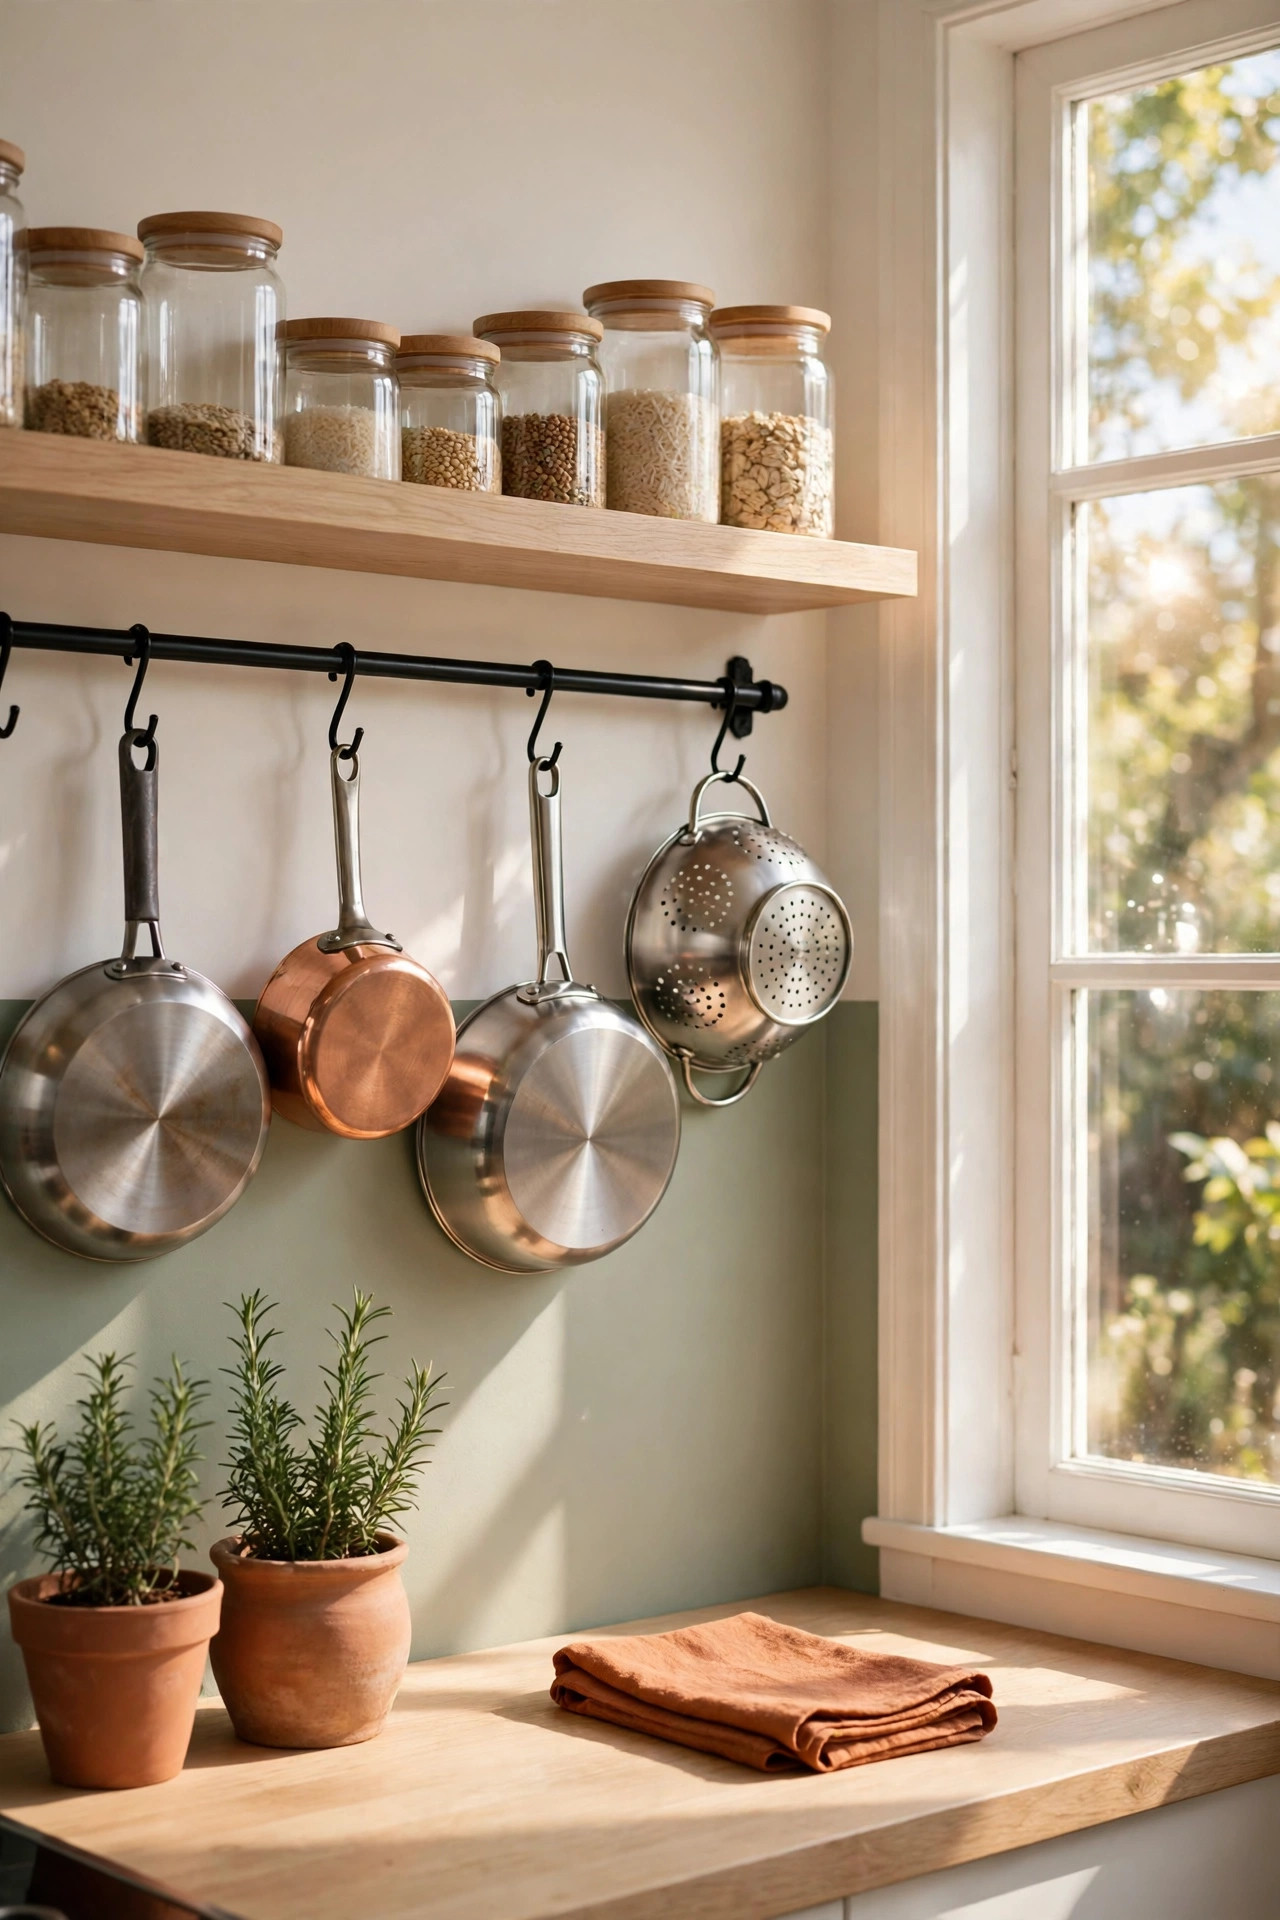
12. Use a magnetic strip or rail for metal tools. A 12- to 18-inch rail on a wall or the side of a cabinet holds whisks, metal spatulas, and bench scrapers. This keeps sharp or bulky tools out of drawers and frees 6 or more inches of drawer length.
6. Keep the System Easy to Maintain
13. Label zones and do a 5-minute monthly reset. Simple labels on bins and shelves tell everyone in the home where things return. Once a month, spend 5 minutes moving stray items back, wiping one shelf, and noting low supplies on a shopping list. Small resets prevent a full reorganization later.
What to Buy
Clear food storage container set for flour and sugar — Square shapes stack neatly and clear sides show levels at a glance, typically $25–$45. Con: a full set takes one whole shelf, so skip it if only one or two dry ingredients need decanting.
8-pack stackable clear bins — Good for the baking center in idea 4 and for grouping small items on deep shelves, typically $18–$28. Con: bins without lids are not ideal for long-term food storage.
Cabinet shelf risers — A simple way to double short-item space without tools, typically $15–$25. Skip if cabinet shelves are already adjustable and can simply be moved closer together.
Small lazy Susan turntable — Makes deep corners and tall bottles reachable with one spin, typically $10–$20. Con: round shape wastes a little corner space on a square shelf.
15-piece clear drawer bin set — Many small sizes suit piping tips, timers, and utensils, typically $10–$16. Skip if drawers are very deep, since shallow bins can slide around.
Mistakes to Avoid
- Buying containers before measuring shelf height and depth in inches.
- Storing heavy flour containers on a high shelf that is hard to lift down safely.
- Keeping every specialty pan in the main cabinet instead of moving rare items out.
- Using deep, opaque bins that hide small items at the bottom.
Frequently Asked Questions
How should flour be stored in a small kitchen?
Flour keeps best in a sealed, clear container that holds a full bag, stored on a low or middle shelf. Square containers save space, and a label with the type of flour and opening date helps prevent mix-ups and waste.
Where do baking pans go when there is no cabinet space?
Upright filing is the best first step, since sheet pans take very little width on edge. If cabinets are full, a sturdy bin on top of cabinets or in a nearby closet can hold pans used only a few times a year.
Is it better to use bins or containers?
Both have a role. Sealed containers protect food like flour and sugar. Open bins work better for tools, packets, and small bottles that need to be pulled out as a group and put back quickly.
How long does it take to organize baking supplies?
A basic setup using these ideas usually takes 1 to 2 hours, including sorting and wiping shelves. It can be split into 20-minute sessions, one cabinet or drawer at a time, with the same end result.
A small kitchen can hold a full baking setup when every item has a planned place and nothing is stored twice. Pick two or three ideas from this list to start, then save this post to your kitchen board on Pinterest so the rest are ready for later.