A tiny kitchen can feel full with very little in it. One deep cabinet, one crowded drawer, and a few items on the counter can slow down every meal. These tiny kitchen organization ideas use small, low-cost changes to make daily items easier to see, reach, and put back.
Start with the spot that causes the most daily stress, and finish that zone first. Most single fixes below take 10 to 30 minutes and need no tools. Before buying anything, measure each shelf and drawer in inches, since a bin even 1 inch too wide will not fit.
1. Tiny Kitchen Organization Ideas That Double Cabinet Space
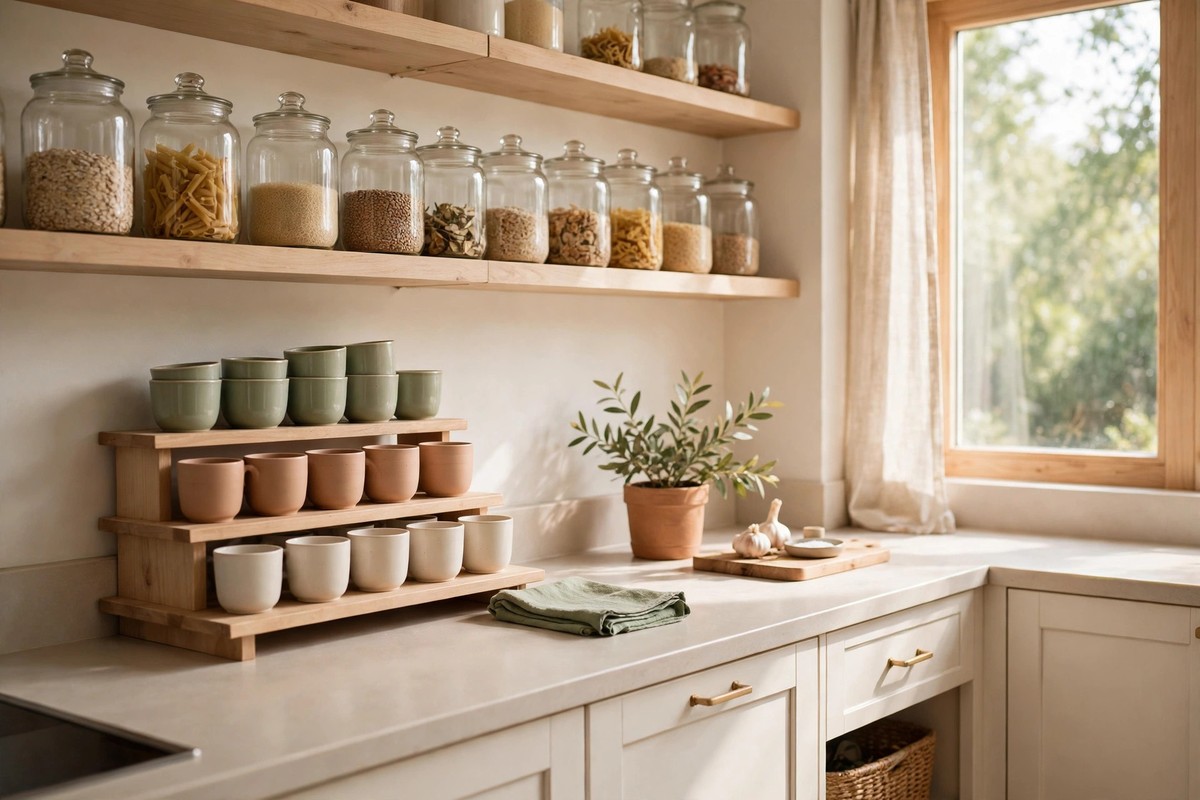
1. Add a shelf riser. A riser splits one tall shelf into two levels for mugs, bowls, and cans. Choose one about 10 to 12 inches wide, and leave at least 5 inches of clearance above it.
2. Keep only daily dishes low. Store 4 to 6 plates and 4 bowls on the easiest shelf. Move extra serving pieces up high or into a closet bin, so daily shelves stay open.
3. Bin loose packets. Group sauce packets, tea, and snack bars in clear bins about 6 by 9 inches. Use one bin per category, so small items stop spreading across whole shelves.
2. Make Drawers Hold Twice as Much
4. Use a divided utensil tray. A tray with 4 to 5 sections stops forks and spoons from tangling. Measure first, since many small drawers are only 12 to 15 inches wide.
5. Zone cooking tools near the stove. Keep spatulas, tongs, and ladles together in one drawer. Limit it to tools used weekly, and store rare gadgets in a labeled bin elsewhere.
6. Roll dish towels. Rolled towels stand neatly in a narrow drawer, and each color stays visible. About 8 to 10 rolled towels fit in a standard drawer.
3. Tiny Kitchen Organization Ideas for Counters and Walls
7. Keep only daily tools out. Leave out a short list, such as a coffee maker, knives, and a cutting board. Clearing even 12 inches of counter makes prep and cleaning much faster.
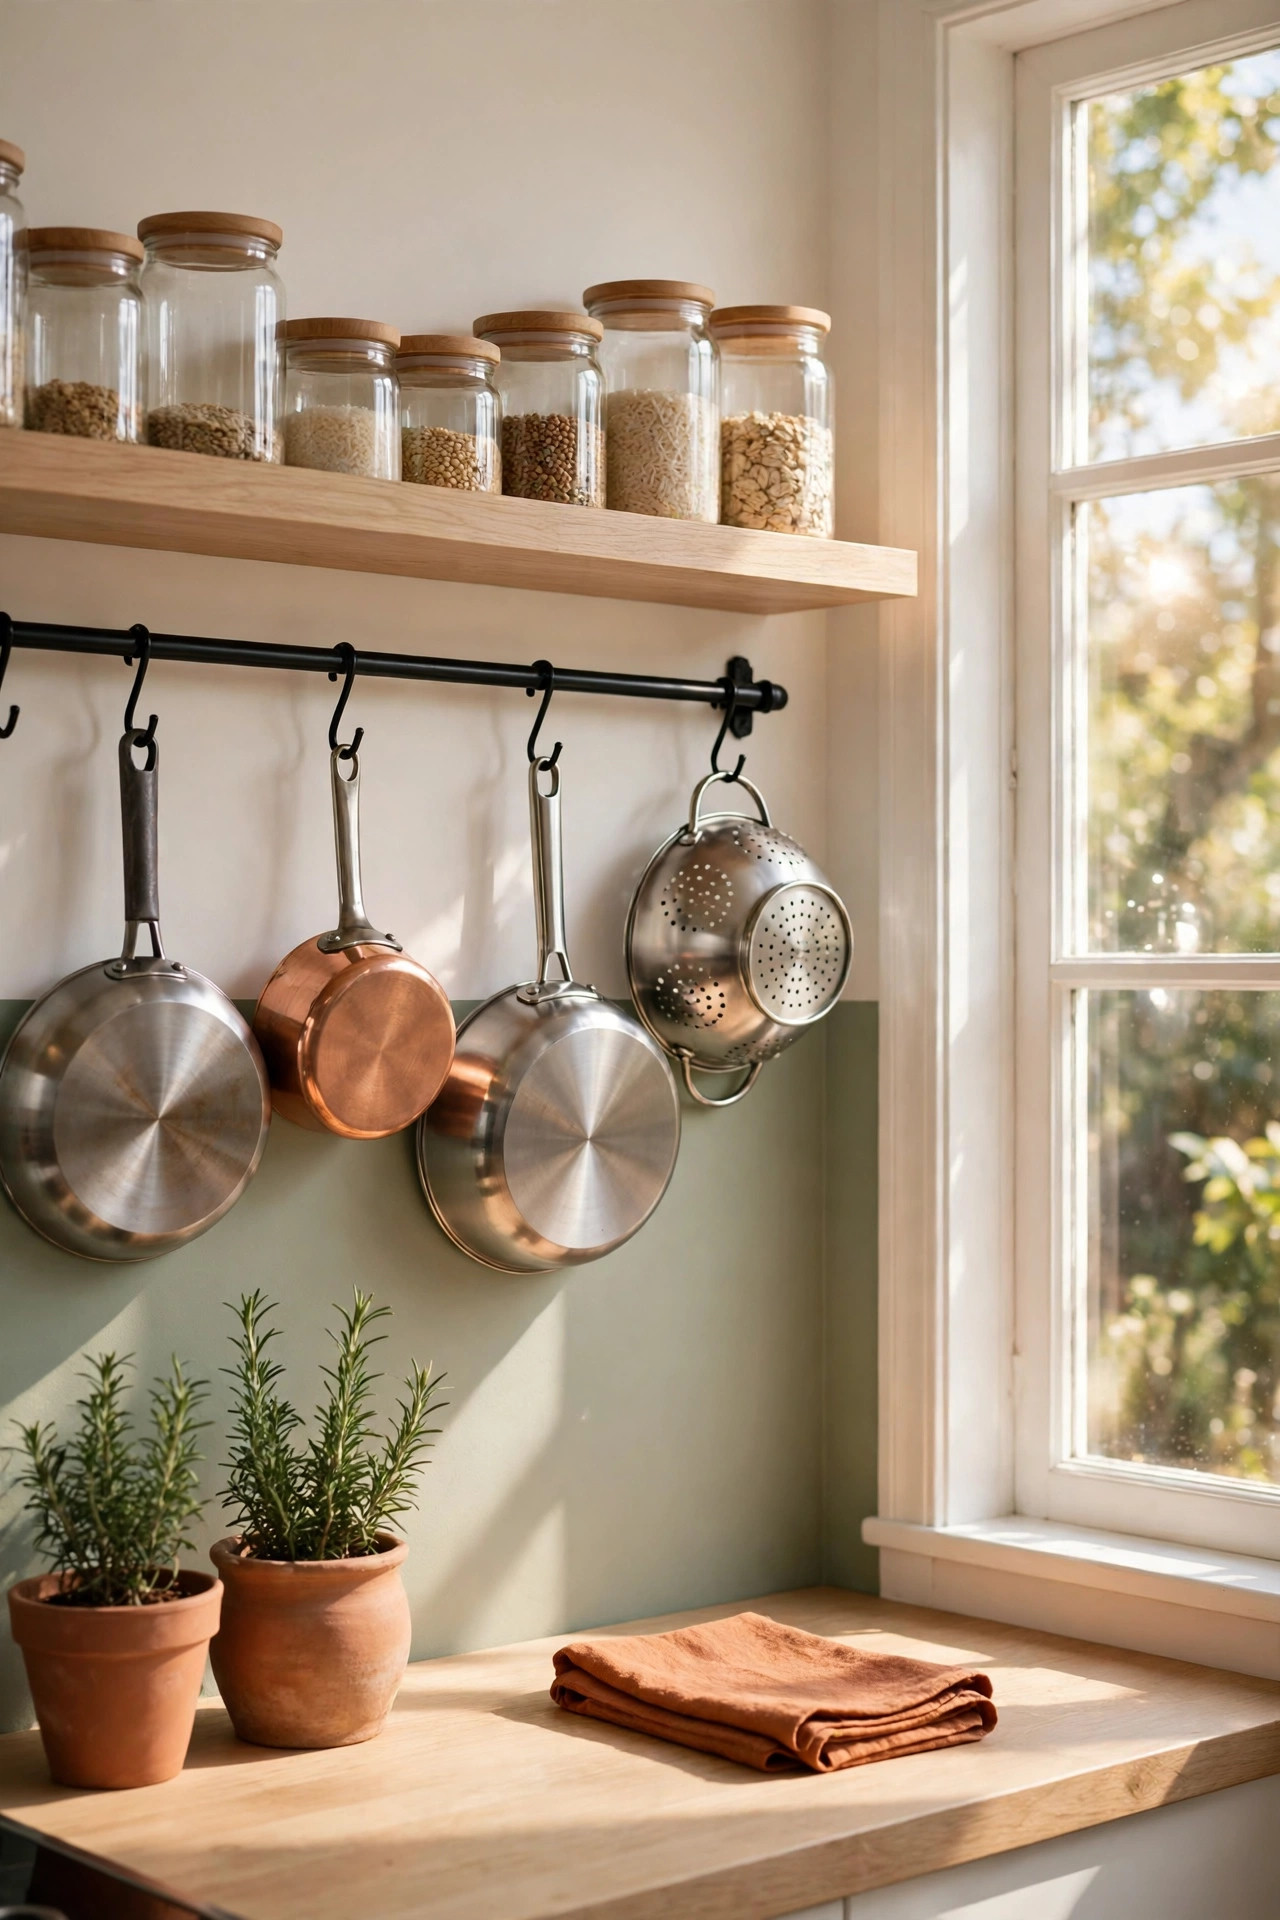
8. Hang a wall rail. A rail 18 to 24 inches long holds ladles, measuring cups, and scissors on hooks. Place it on empty wall space near the stove to free a full drawer.
9. Add a magnetic knife strip. A strip about 14 inches long holds 4 to 5 knives on the wall. It replaces a bulky block that often uses 6 to 8 inches of counter depth.
4. Fix the Fridge and Pantry Bottleneck
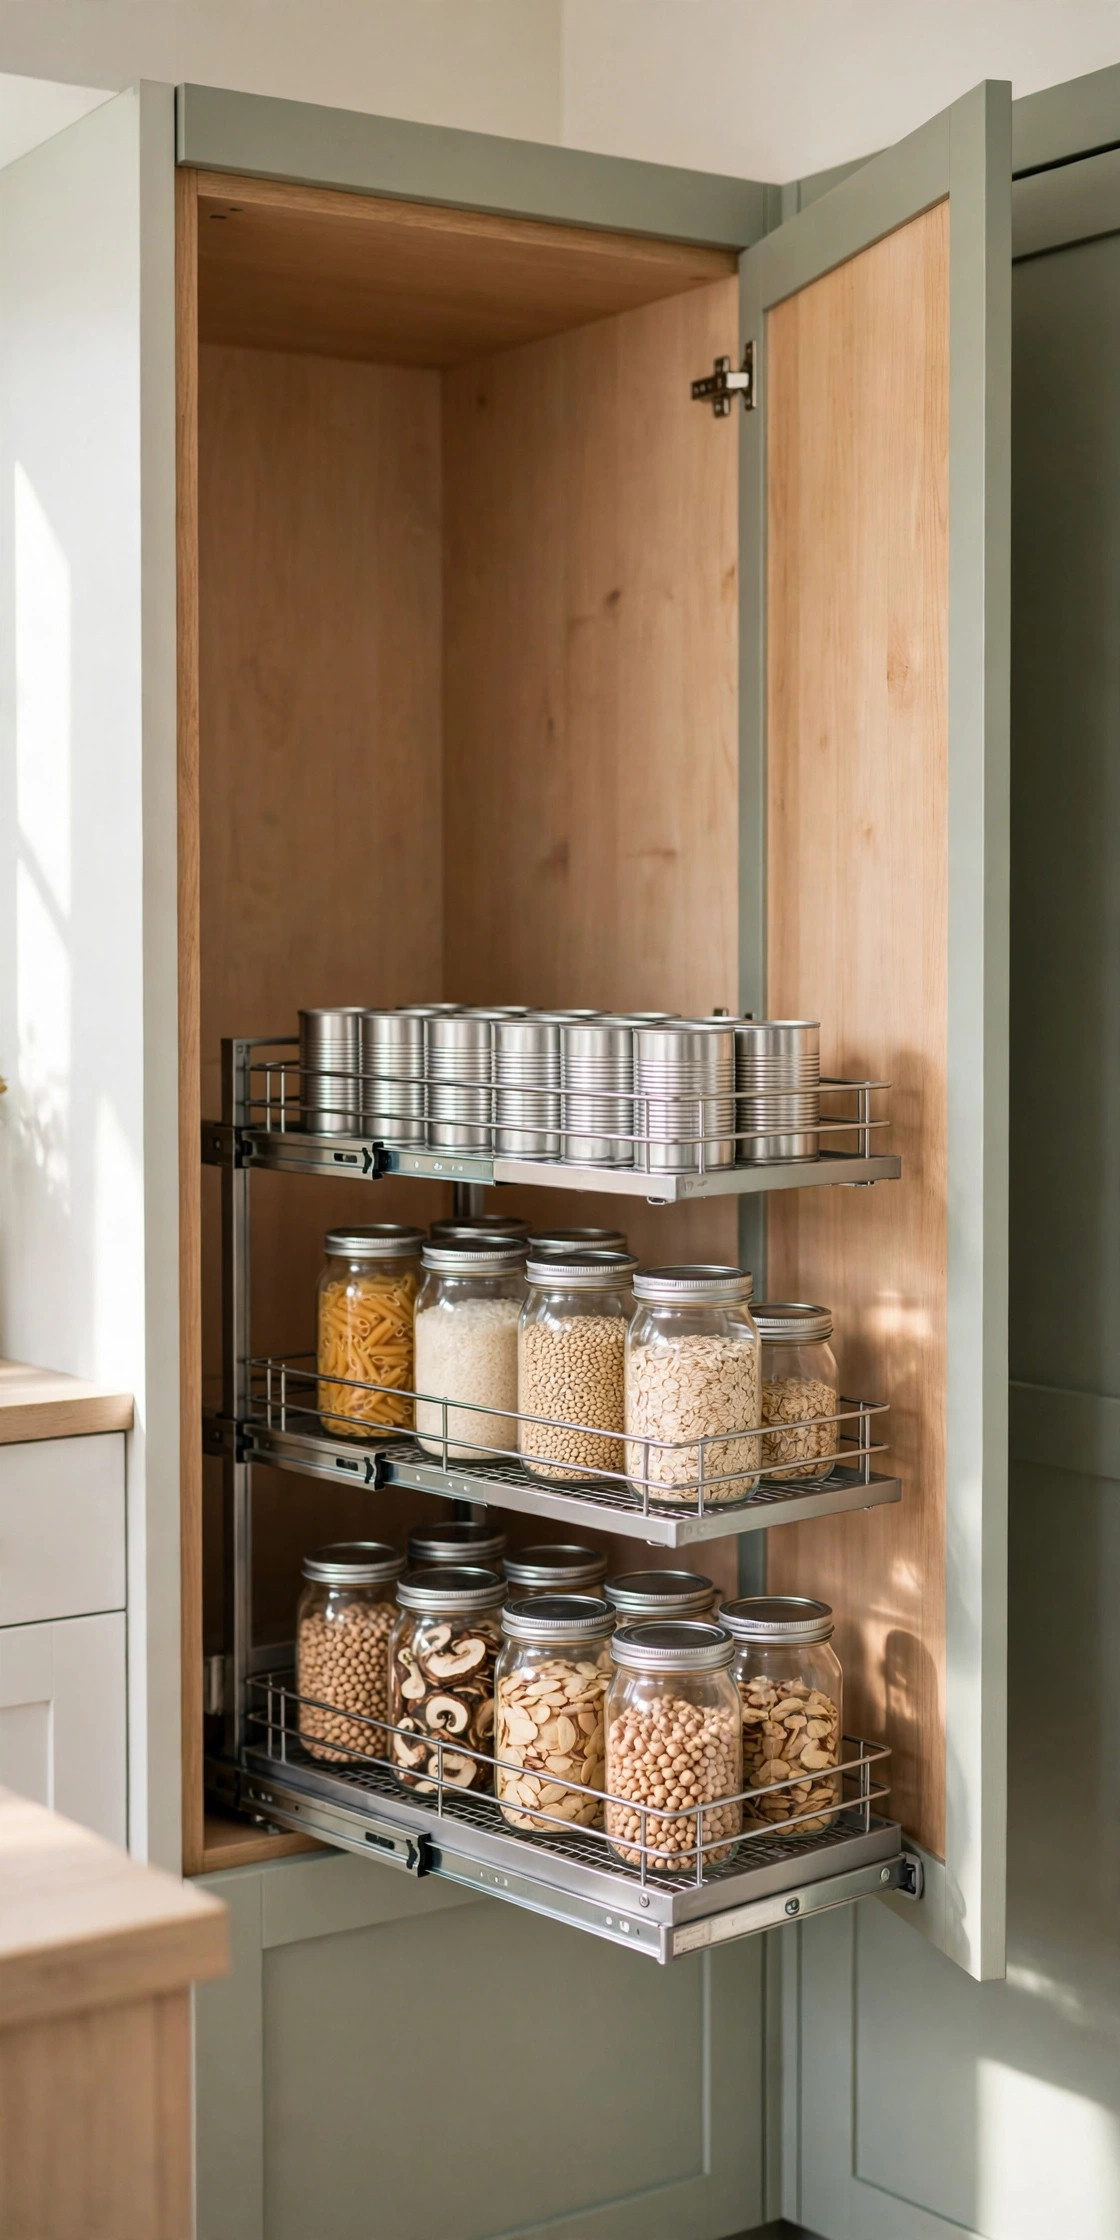
10. Tier the cans. A stepped organizer raises the back row, so labels stay visible. One about 10 inches wide holds roughly 12 to 15 standard cans in neat rows.
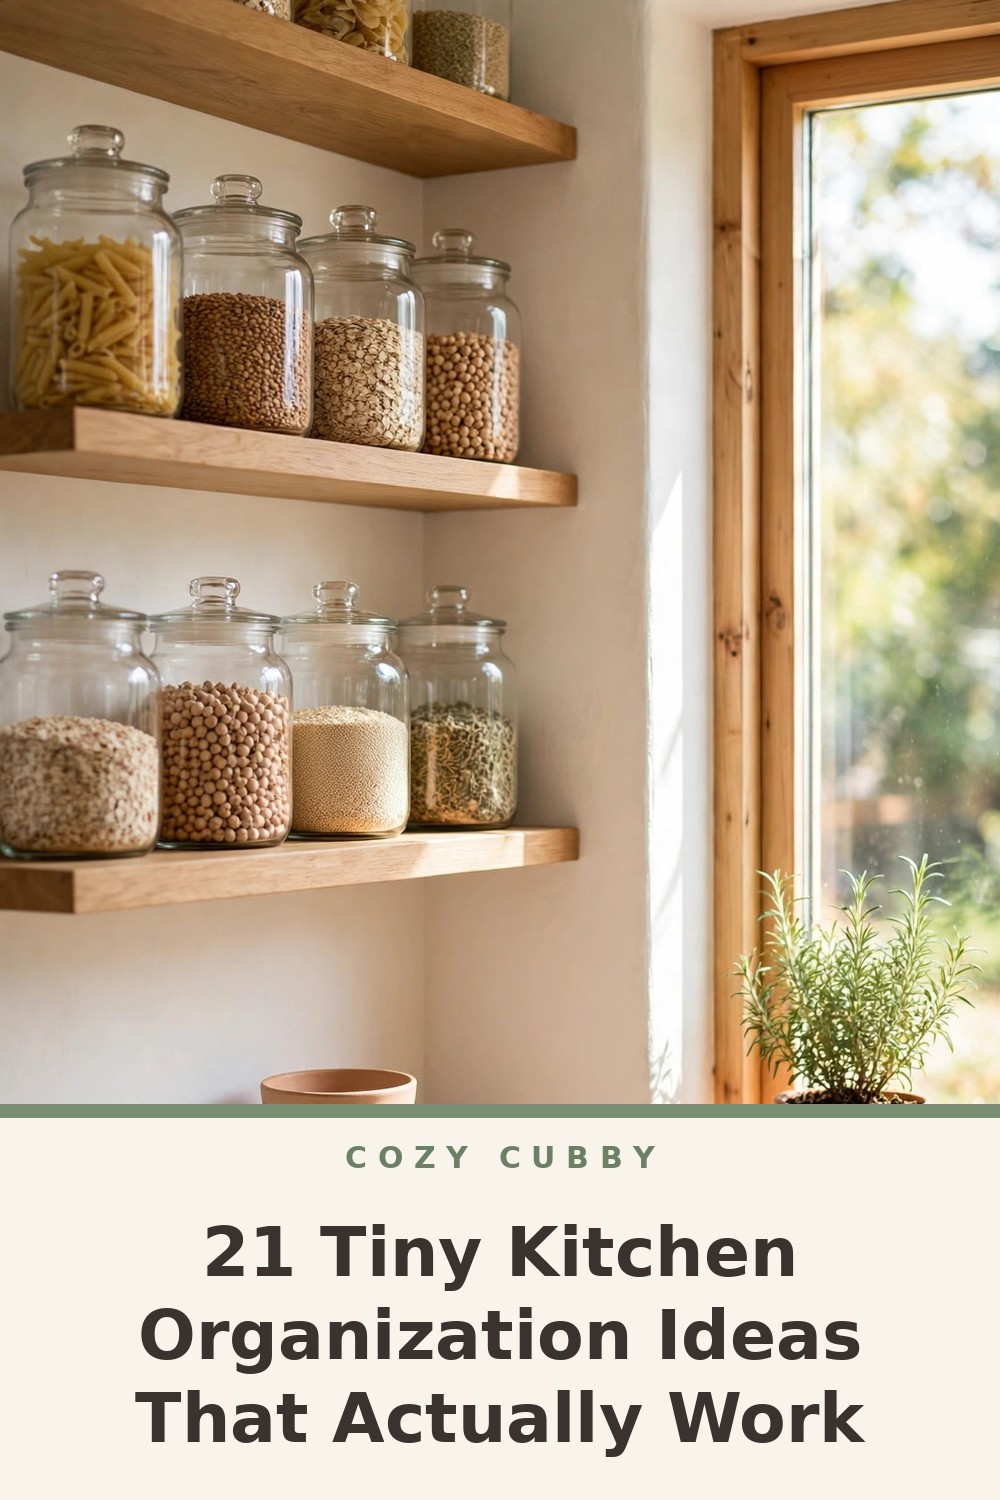
11. Decant staples into square containers. Square shapes sit side by side with no wasted gaps. Start with 4 staples, such as rice, pasta, flour, and oats, and label each with the fill date.
12. Add a fridge turntable. A turntable about 10 inches across brings sauces from the back to the front with one spin. Keep it on one shelf only, and wipe it weekly.
5. Use Doors, Sides, and Forgotten Gaps
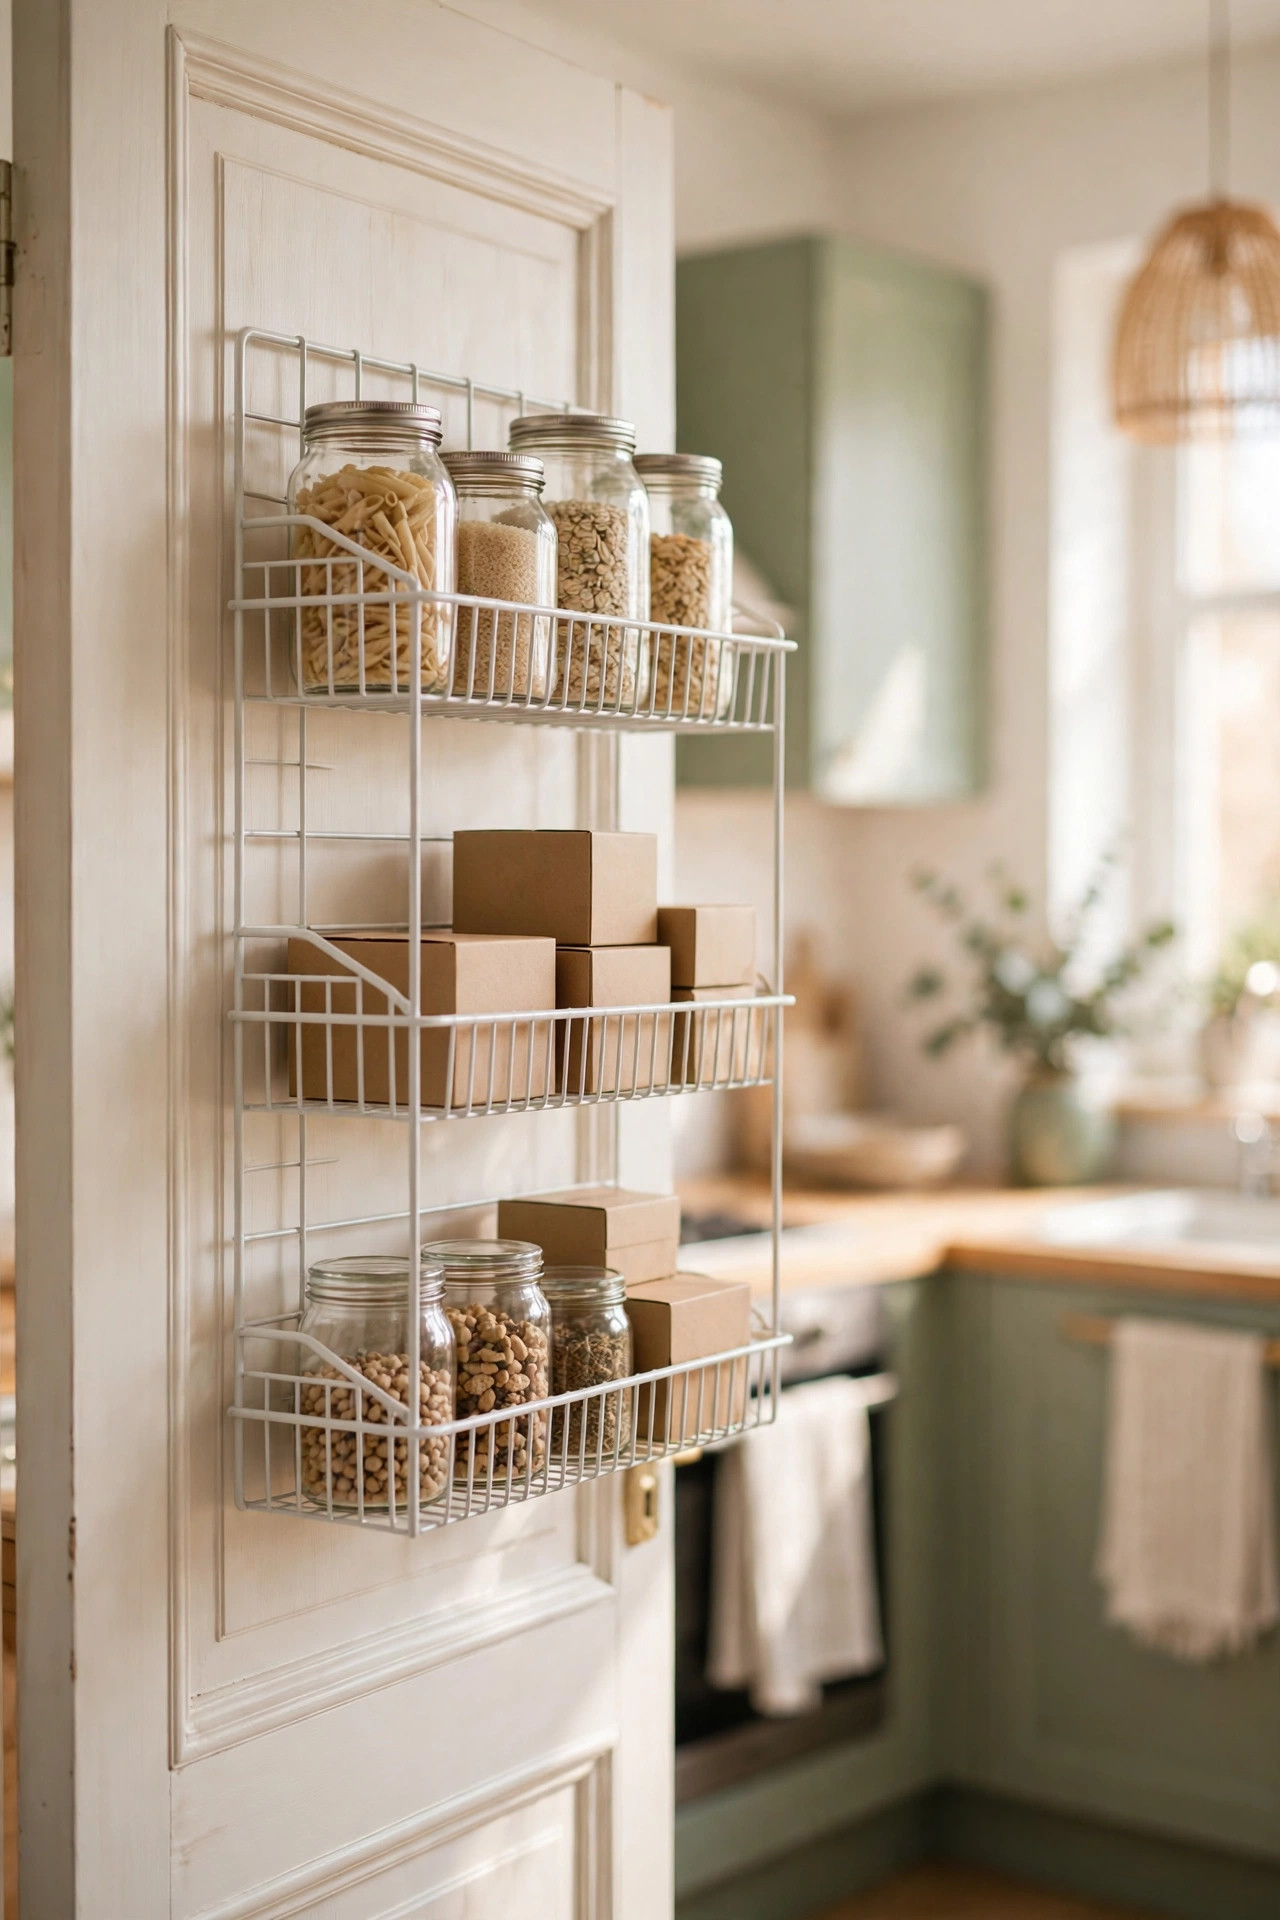
13. Rack the cabinet door. A slim inside-door rack holds foil, wraps, or spice packets. Keep it under 3 inches deep, and test that the door still closes fully.
14. Use the fridge side. Magnetic hooks can hold oven mitts, scissors, or a towel. Use 3 to 4 hooks at most, keep the load light, and clear the door swing.
15. Slide in a slim cart. Gaps beside a fridge or stove are often 6 to 8 inches wide, which suits a narrow rolling cart. Use it for oils, sprays, or cleaning bottles.
6. Keep Daily Items Easy to Reach
16. Tier or lay out spices. A tiered rack keeps labels visible, while a flat drawer insert suits cooks who look down at jars. Either way, limit the set to about 15 to 20 core spices.
17. Bin one meal at a time. Group breakfast or baking supplies in a single bin, such as oats, mix, and syrup. Pull the whole bin out, use it, and slide it back in seconds.
18. Add a pull-out under the sink. A slide-out base brings cleaners forward instead of leaving them behind pipes. Measure around the pipes first, and allow about 15 minutes for setup.
7. Simple Habits That Keep a Tiny Kitchen Tidy
19. Follow one-in, one-out. When a new mug, pan, or gadget comes in, one similar item leaves. This rule stops the slow buildup that makes small kitchens feel crowded again.
20. Label shelves and bins. Short labels such as Cans, Snacks, and Baking help everyone return items to the right spot. Plain tape labels work, and a full kitchen takes about 20 minutes.
21. Do a 10-minute weekly reset. Once a week, return stray items, wipe one shelf, and toss expired food. Ten focused minutes prevent the need for a long weekend overhaul.
What to Buy
Cabinet shelf risers add a second level with no tools, and they suit dishes, mugs, and cans in most standard cabinets. Skip if shelf height is under 8 inches, since stacking room will be too tight. Typically $15–$25.
8-pack stackable clear organizer bins keep categories separate and visible in cabinets, the fridge, and the pantry, which helps prevent duplicate buying. The con is a busy look if sizes are mixed, so measure and start with one set. Typically $18–$28.
3-tier can organizer fixes the hidden back-row problem in about 5 minutes, with no setup beyond placing it on a shelf at least 10 inches deep. Skip if cans live in a deep drawer, where a flat row works better. Typically $12–$20.
Pull-out cabinet organizer, adhesive no-drill brings base-cabinet and under-sink items within reach, and the adhesive base suits renters. The trade-off is a lower weight limit, so heavy pots may be too much. Typically $25–$45.
Tiered spice rack keeps 15 to 20 jars visible in rows, which cuts search time during cooking. Skip if spices already sit neatly in a drawer, since a second system adds clutter. Typically $15–$30.
Mistakes to Avoid
- Buying organizers before measuring shelves and drawers in inches.
- Keeping every gadget just in case, even items used once a year.
- Hiding food in opaque boxes with no labels, which invites duplicates and waste.
- Trying to finish the whole kitchen in one day and quitting halfway.
Frequently Asked Questions
Where should a beginner start in a very small kitchen?
Start with the cabinet or drawer used most often, and finish that one spot in 20 to 30 minutes. A single completed zone gives a clear model for the rest of the kitchen.
How can renters organize without drilling holes?
Use risers, clear bins, adhesive pull-outs, magnetic hooks, and over-door racks, none of which need screws. Check adhesive weight limits before loading a rack with heavy jars.
How many containers are actually needed?
Most tiny kitchens do well with one set of clear bins, one can organizer, and risers for 1 to 2 cabinets. Add more only after two weeks of living with the first setup.
How often should a tiny kitchen be reorganized?
A 10-minute reset once a week is enough once zones are set. Add a deeper review every 3 to 4 months to catch expired food and unused gadgets.
A tiny kitchen works best when every item has a clear home and daily tools stay within easy reach. Pick two or three ideas, measure first, and finish one small zone at a time. Save this post to a kitchen board on Pinterest for later, so the full checklist is ready before the next session.