A kitchen with no pantry forces a hard question: where does the food actually go? Cans end up behind glasses, cereal boxes block the plates, and snacks vanish into random drawers. Good no-pantry kitchen storage ideas solve this by giving food its own zones in the space that already exists.
The 18 places below cover cabinets, doors, drawers, walls, and nearby rooms. Each suits a specific food type, from heavy cans to light packets. Most need no tools.
1. Turn Regular Cabinets Into a Food Pantry
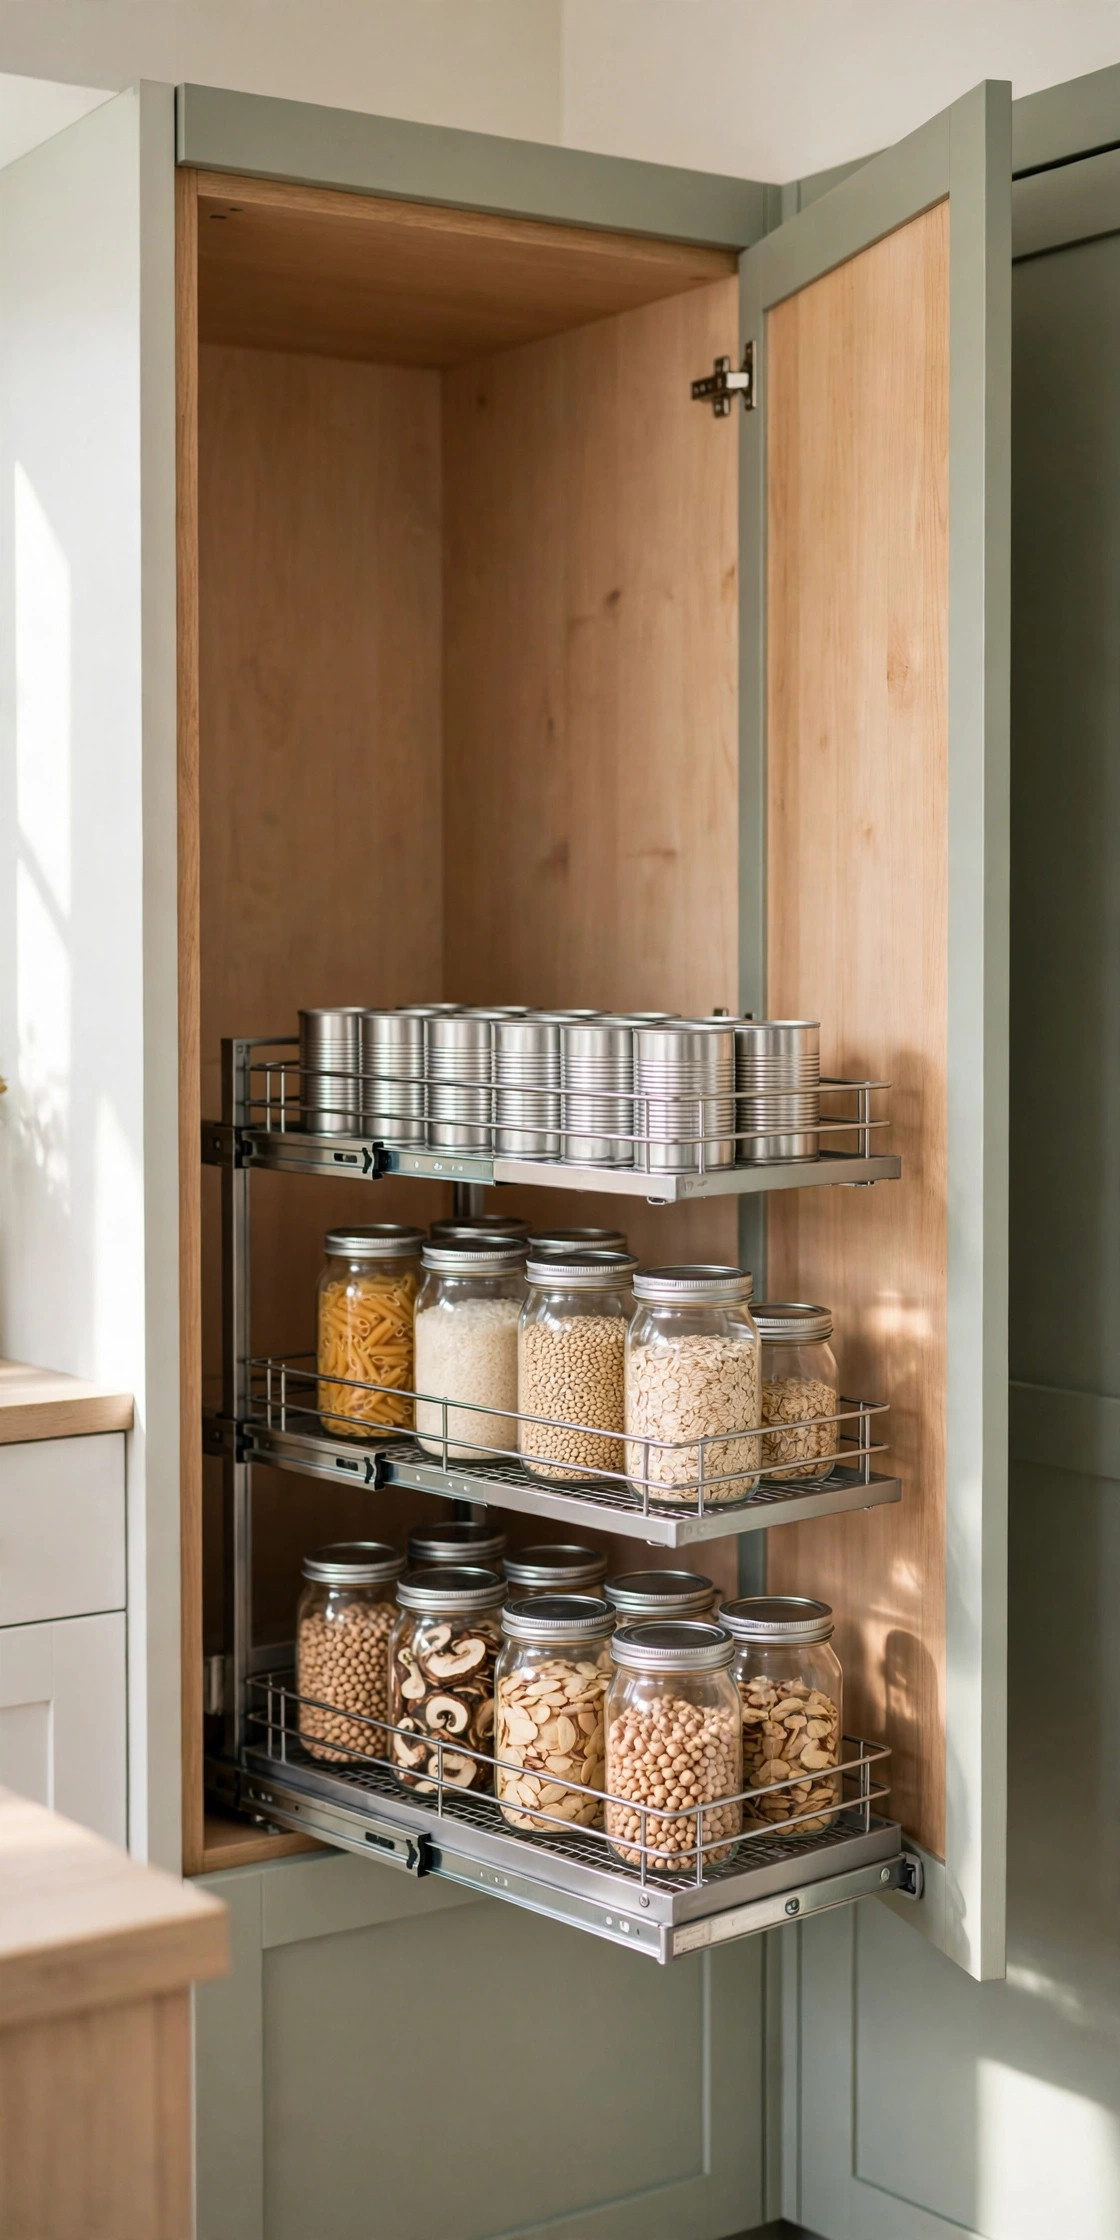
1. Dedicate one full cabinet to dry goods only. Mixing food with dishes guarantees clutter. One cabinet, ideally 30 to 36 inches wide near the prep area, becomes the zone for pasta, rice, baking supplies, and oils.
2. Use the cabinet above the refrigerator. This deep, high cabinet is awkward for daily dishes but fine for backup food: extra rice and unopened sauces. Use bins about 12 inches deep so nothing gets lost at the back.
3. Split a cabinet with shelf risers. A riser adds a second level for short jars and cans. Cans are about 4 inches tall, so a riser with 5 to 6 inches of clearance below doubles their storage.
2. No-Pantry Kitchen Storage Ideas for Doors
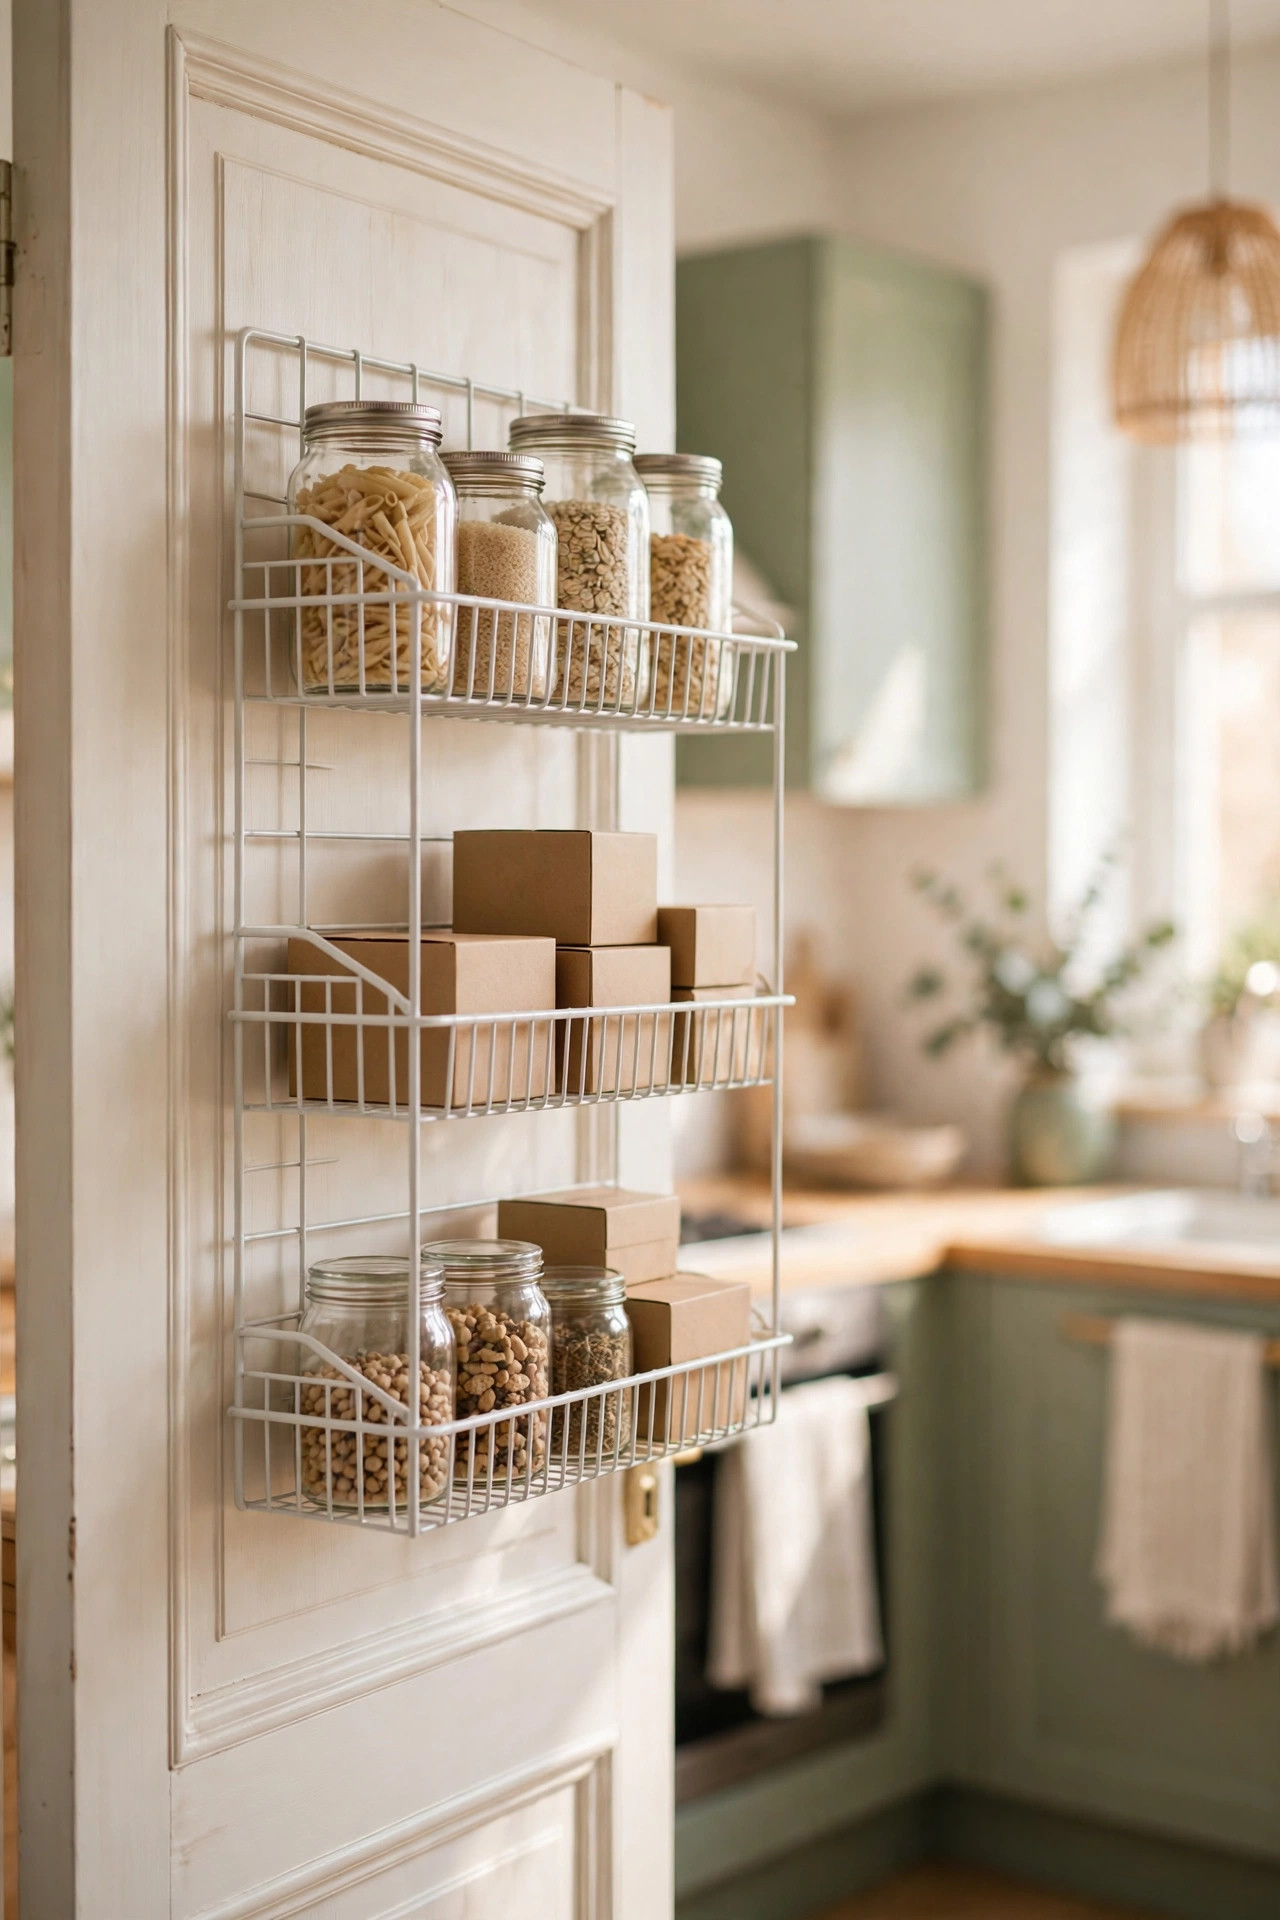
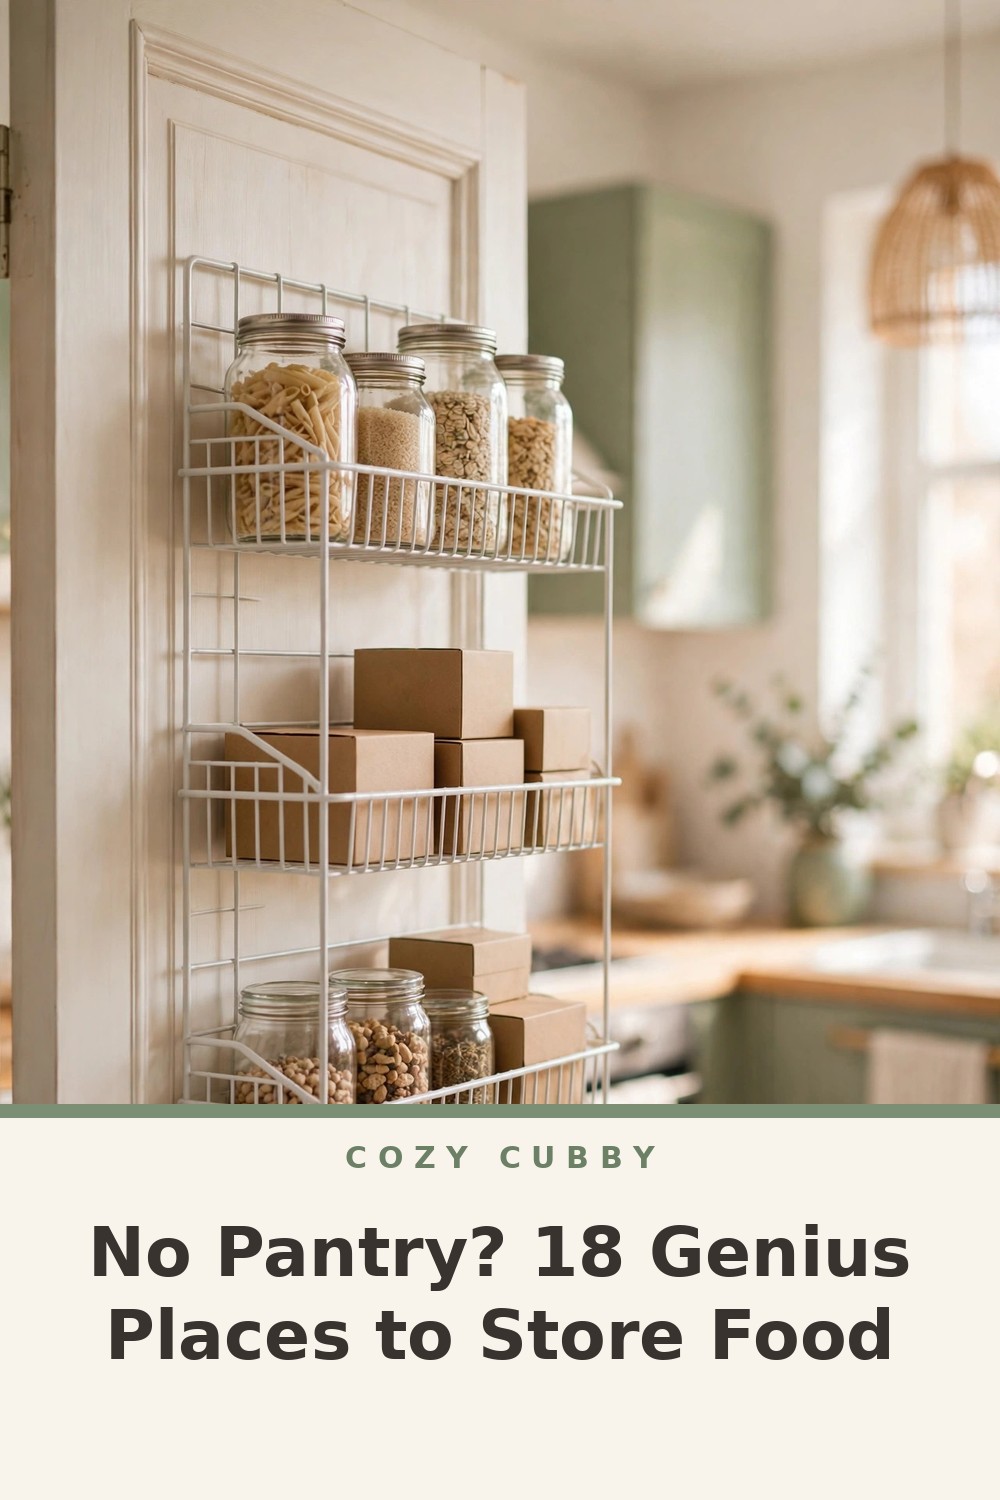
4. Hang a clear pocket organizer on a door. The back of a kitchen or closet door holds spice packets, granola bars, and tea in plain sight. Clear pockets make a fast inventory. Keep heavy jars out, since hinges handle light items best.
5. Mount slim racks inside cabinet doors. A rack about 3 inches deep can hold spice jars, foil boxes, or small sauce bottles. Measure the gap to the shelf edge first, so the door still closes fully.
6. Use the side of the refrigerator. A magnetic shelf or row of magnetic spice tins turns the fridge side into storage for daily spices and small packets. In many layouts it sits within reach of the stove and uses zero cabinet space.
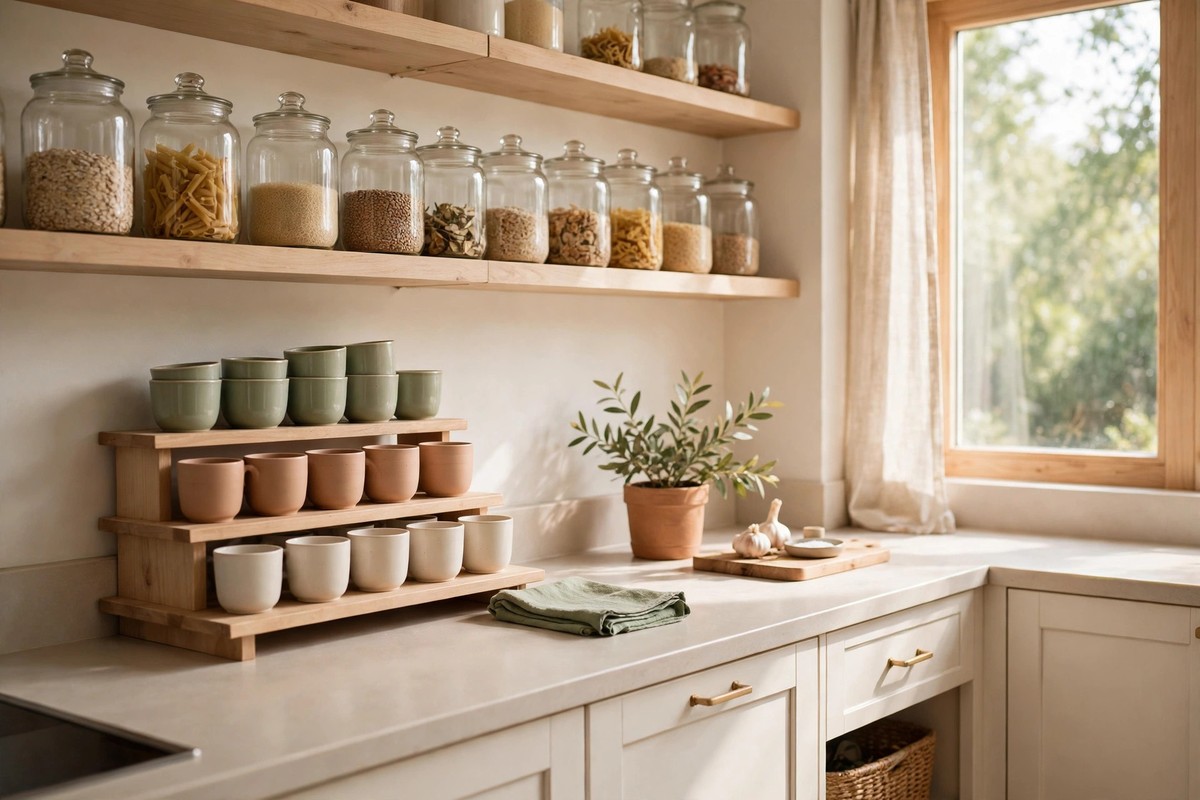
3. Drawers and Counter Corners That Hold Food
7. Convert one deep drawer into a food drawer. A drawer 8 to 10 inches deep holds upright bags of rice, flour in sealed containers, and snack boxes. Label container tops, since drawers are read from above.
8. Give snacks one shallow drawer or one bin. Loose packets spread without a boundary. One bin about 12 by 8 inches sets a clear limit: when it is full, no more snacks come in until some are eaten.
9. Use one counter corner, and only one. A single tray or small tiered stand, roughly 12 by 12 inches, can hold fruit, bread, and daily cooking oils. Limiting counter food to one defined tray keeps prep space open.
4. Walls, Windows, and Vertical Space
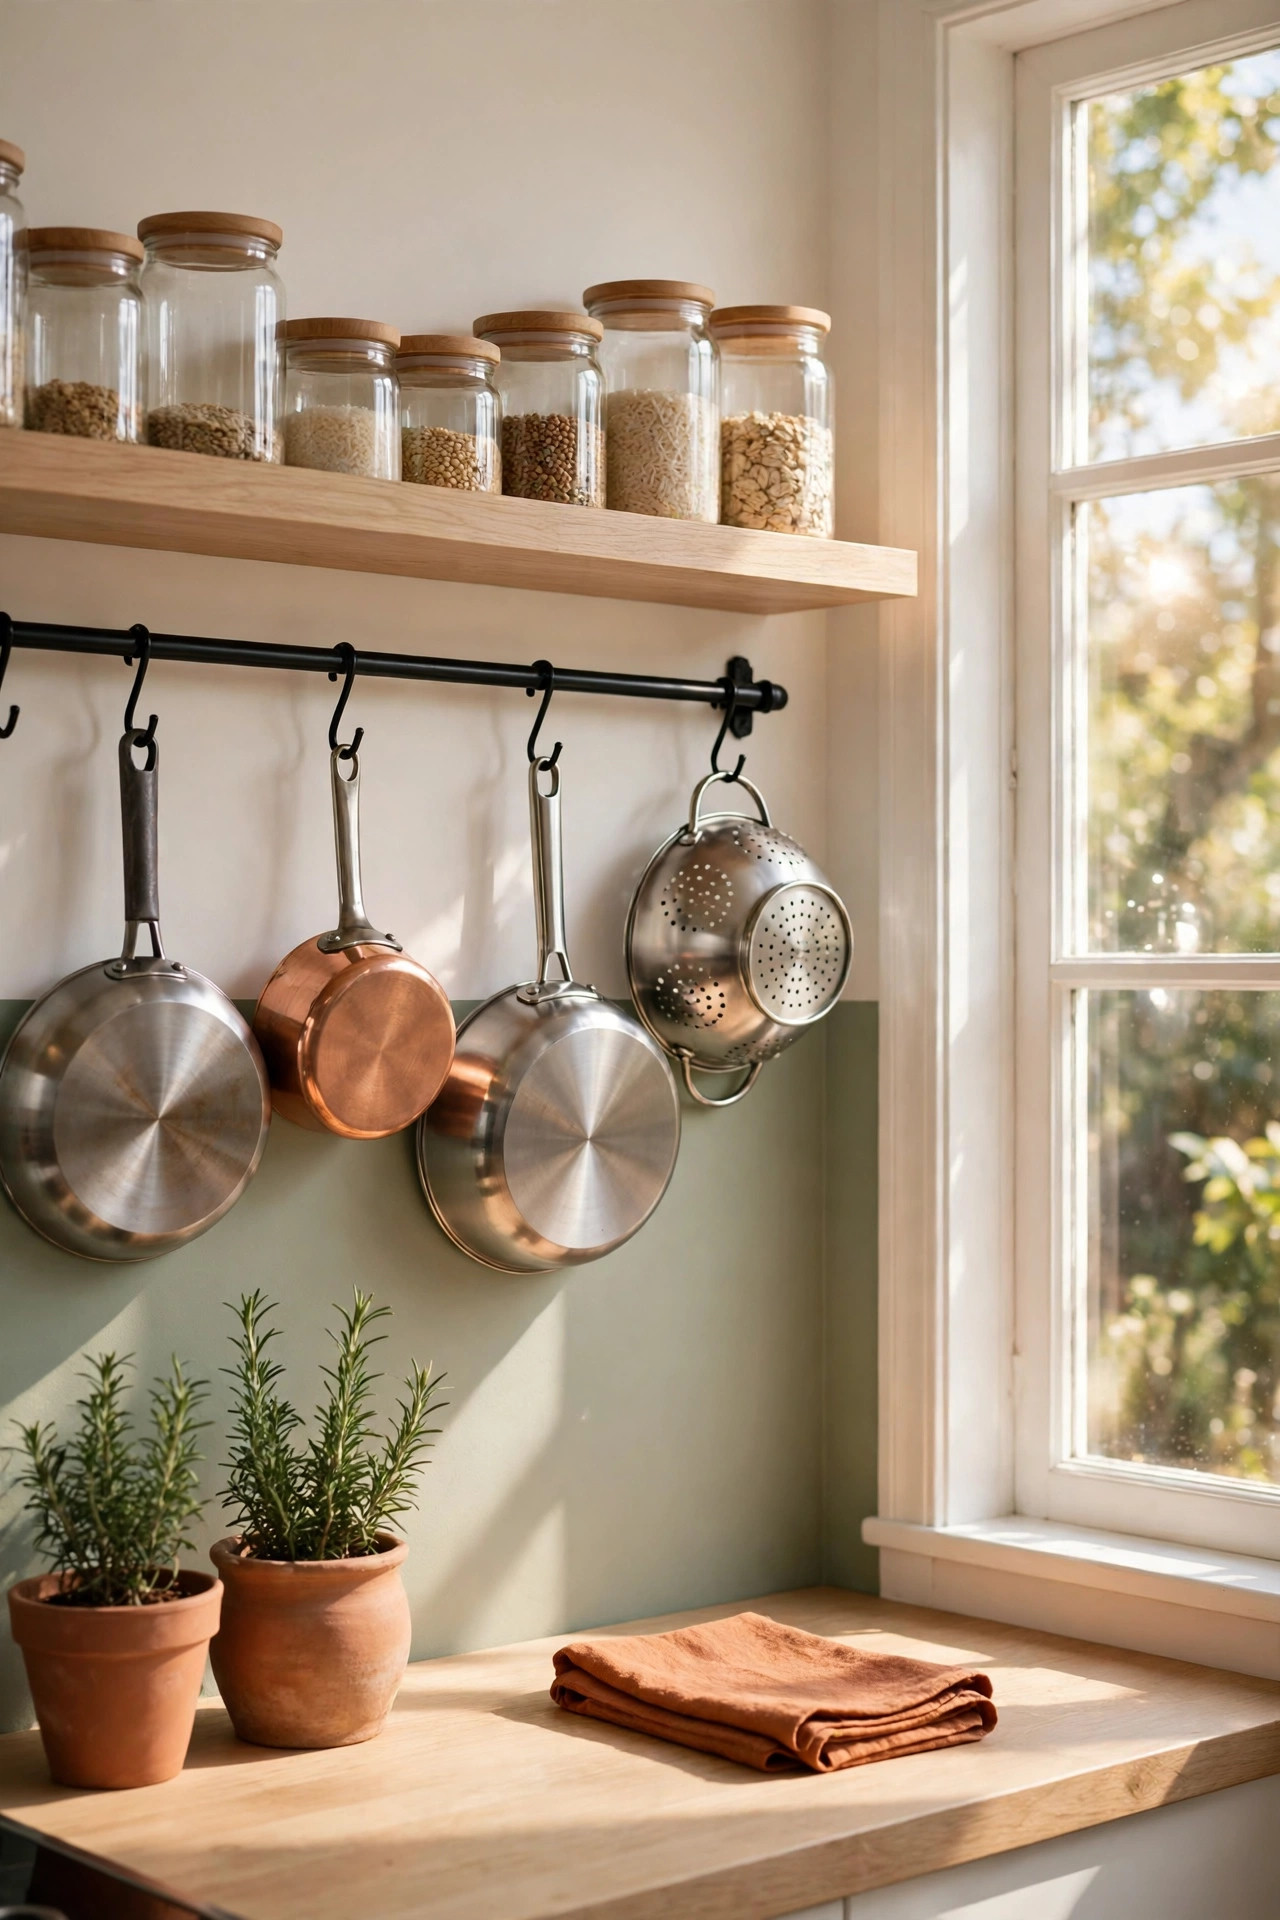
10. Add a narrow wall shelf for jars. A shelf 4 to 6 inches deep above a doorway or on a short blank wall holds spice jars, tea, and coffee. A single row means nothing hides behind anything else.
11. Hang a rail for dry goods in baskets. Hooks on a 24-inch rail can hold small baskets with garlic, onions, or packaged snacks. Keep baskets away from stove heat and steam, and check the rail's weight rating.
12. Build up with stackable drawers. Two or three clear drawers, each about 6 inches tall, fit on a counter end or inside a tall cabinet. Tea, packets, and baking extras stay sorted in a footprint near 10 by 14 inches.
5. No-Pantry Kitchen Storage Ideas Beyond the Kitchen
13. Set up a backup shelf in a hallway or laundry area. A small shelf just outside the kitchen holds overflow: drink packs and unopened dry goods. Check it monthly for expiry dates.
14. Use a rolling cart as a portable pantry. A three-tier cart, about 16 by 12 inches, parks in a gap beside the refrigerator or rolls into a closet. Cans and jars go on lower tiers, lighter packets on top.
15. Claim a bench or entry cabinet. Storage benches, hallway cabinets, and coat closet shelves often sit half empty. Sealed bins of backup pasta, rice, and canned goods fit well there, if the spot is cool, dry, and away from cleaning chemicals.
6. The Forgotten Inches Inside the Kitchen
16. Fill the gap beside appliances. A 6- to 10-inch gap between a refrigerator and a wall suits a slim rolling shelf for bottles and cans. Measure the gap carefully and leave a little clearance so the shelf rolls freely.
17. Use the top of the upper cabinets. This high, dead space holds lidded bins of seasonal or bulk food. Keep bins light enough to lift down safely, and label each front.
18. Decant staples into uniform containers. Bags and boxes waste space and topple. Matching clear containers, most between 1 and 4 quarts, stack tightly and show what is running low. Label each with the item name and expiry date.
What to Buy
Clear food storage container set for decanting — typically $25–$45. Pros: matching shapes stack tightly and contents stay visible. Con: filling a set takes time, so skip if staples are used up too fast to need it.
8-pack stackable clear bins — typically $18–$28. Pros: bins group cans and packets into pull-out zones in deep cabinets. Con: tall bins waste vertical space, so skip sizes taller than the food stored.
3-tier can organizer — typically $12–$20. Pros: cans stay in readable rows, so older cans get used first. Con: it fits standard cans best, so skip if storage is mostly jars or boxes.
Over-the-door clear pocket organizer — typically $10–$18. Pros: adds a door of visible storage for light packets with no tools. Con: it can swing on a busy door, so skip if the door opens constantly.
Cabinet shelf risers — typically $15–$25. Pros: double the level inside one cabinet for short jars and cans. Con: fixed heights do not suit tall bottles, so skip if most items are over 8 inches tall.
Pro Tips
- Store food by category — breakfast together, baking together, cans together — so a quick look shows what is on hand.
- Keep a running list on the refrigerator door to avoid buying duplicates of food stored in backup spots.
- Put newer items behind older ones in every bin and cabinet, so food gets used in the right order.
- Check backup spots once a month for expiry dates, since out-of-sight food is the easiest to forget.
Frequently Asked Questions
How do you organize food without a pantry?
Choose one cabinet as the main food zone, then assign overflow to backup spots such as a cart, a door organizer, or a nearby shelf. Group food by category in bins. A short list of where each category lives helps everyone follow the system.
What foods should not be stored above the stove?
Heat and steam shorten the life of spices, oils, and baking ingredients, so high hot spots suit only sturdy, sealed items in bins. Keep oils and spices in a cooler cabinet away from appliances that give off heat.
How can renters add food storage without drilling holes?
Over-the-door organizers, rolling carts, stackable bins, shelf risers, and magnetic shelves all add storage with no screws. Adhesive options work for light items when the rating matches the load.
How much food can a small kitchen hold?
With one dedicated cabinet, a cart, and one backup shelf, a small kitchen can hold about two to three weeks of dry goods for a small household. A monthly reset keeps the system working.
No pantry does not mean no system — food storage just spreads into smart, assigned spots instead of one closet. Pick three places from this list this week. Save this post to your kitchen board on Pinterest to keep all 18 ideas in one place.