Small kitchens fill up fast. One mail pile, a paper towel roll, and three small appliances can take over the whole work surface. These kitchen countertop declutter ideas follow one simple rule: keep out only what gets used every day, and give everything else a real home somewhere else.
Most counters do not need a remodel or expensive organizers. They need fewer items, tighter groups, and a few clear rules. Work through the ideas below in order, and a clear counter can happen in one afternoon.
1. Start With a Full Reset Using Kitchen Countertop Declutter Ideas That Stick
Idea 1: Empty the counters completely. Take everything off, including appliances and decor, then wipe the surface clean. This takes about 15 minutes and shows exactly how much space is really there, instead of just moving piles around.
Idea 2: Keep only daily-use items out. An item earns counter space only if it is used at least once a day. A coffee maker used every morning can stay. A blender used twice a month cannot.
2. Give Paper and Small Junk a Hard Stop
Idea 3: Set up one small mail station. Use a wall pocket or slim file holder, about 10 to 12 inches wide, near where mail enters. Mail goes there or in recycling. It never goes flat on the counter, where piles spread fast.
Idea 4: Move paperwork out of the kitchen. School forms, bills, and coupons belong in a desk area or one labeled folder in a drawer. The counter is a food prep surface first, not a filing system.
3. Corral Loose Items So They Stop Spreading
Idea 5: Use one tray as a counter corral. A small tray, roughly 12 by 8 inches, can hold soap, a sponge, and lotion by the sink. If an item does not fit on the tray, it does not live by the sink.
Idea 6: Group cooking basics in one tight zone. Keep oil, salt, and one or two daily spices in a small group next to the stove, on a narrow tray or turntable. One group is easy to lift and clean under.
4. Use Vertical Space for Better Kitchen Countertop Declutter Results
Idea 7: Mount paper towels under a cabinet. A standing roll takes about 6 inches of round space and collects splashes. An under-cabinet holder frees that space. Most install with a few screws in about 10 minutes.
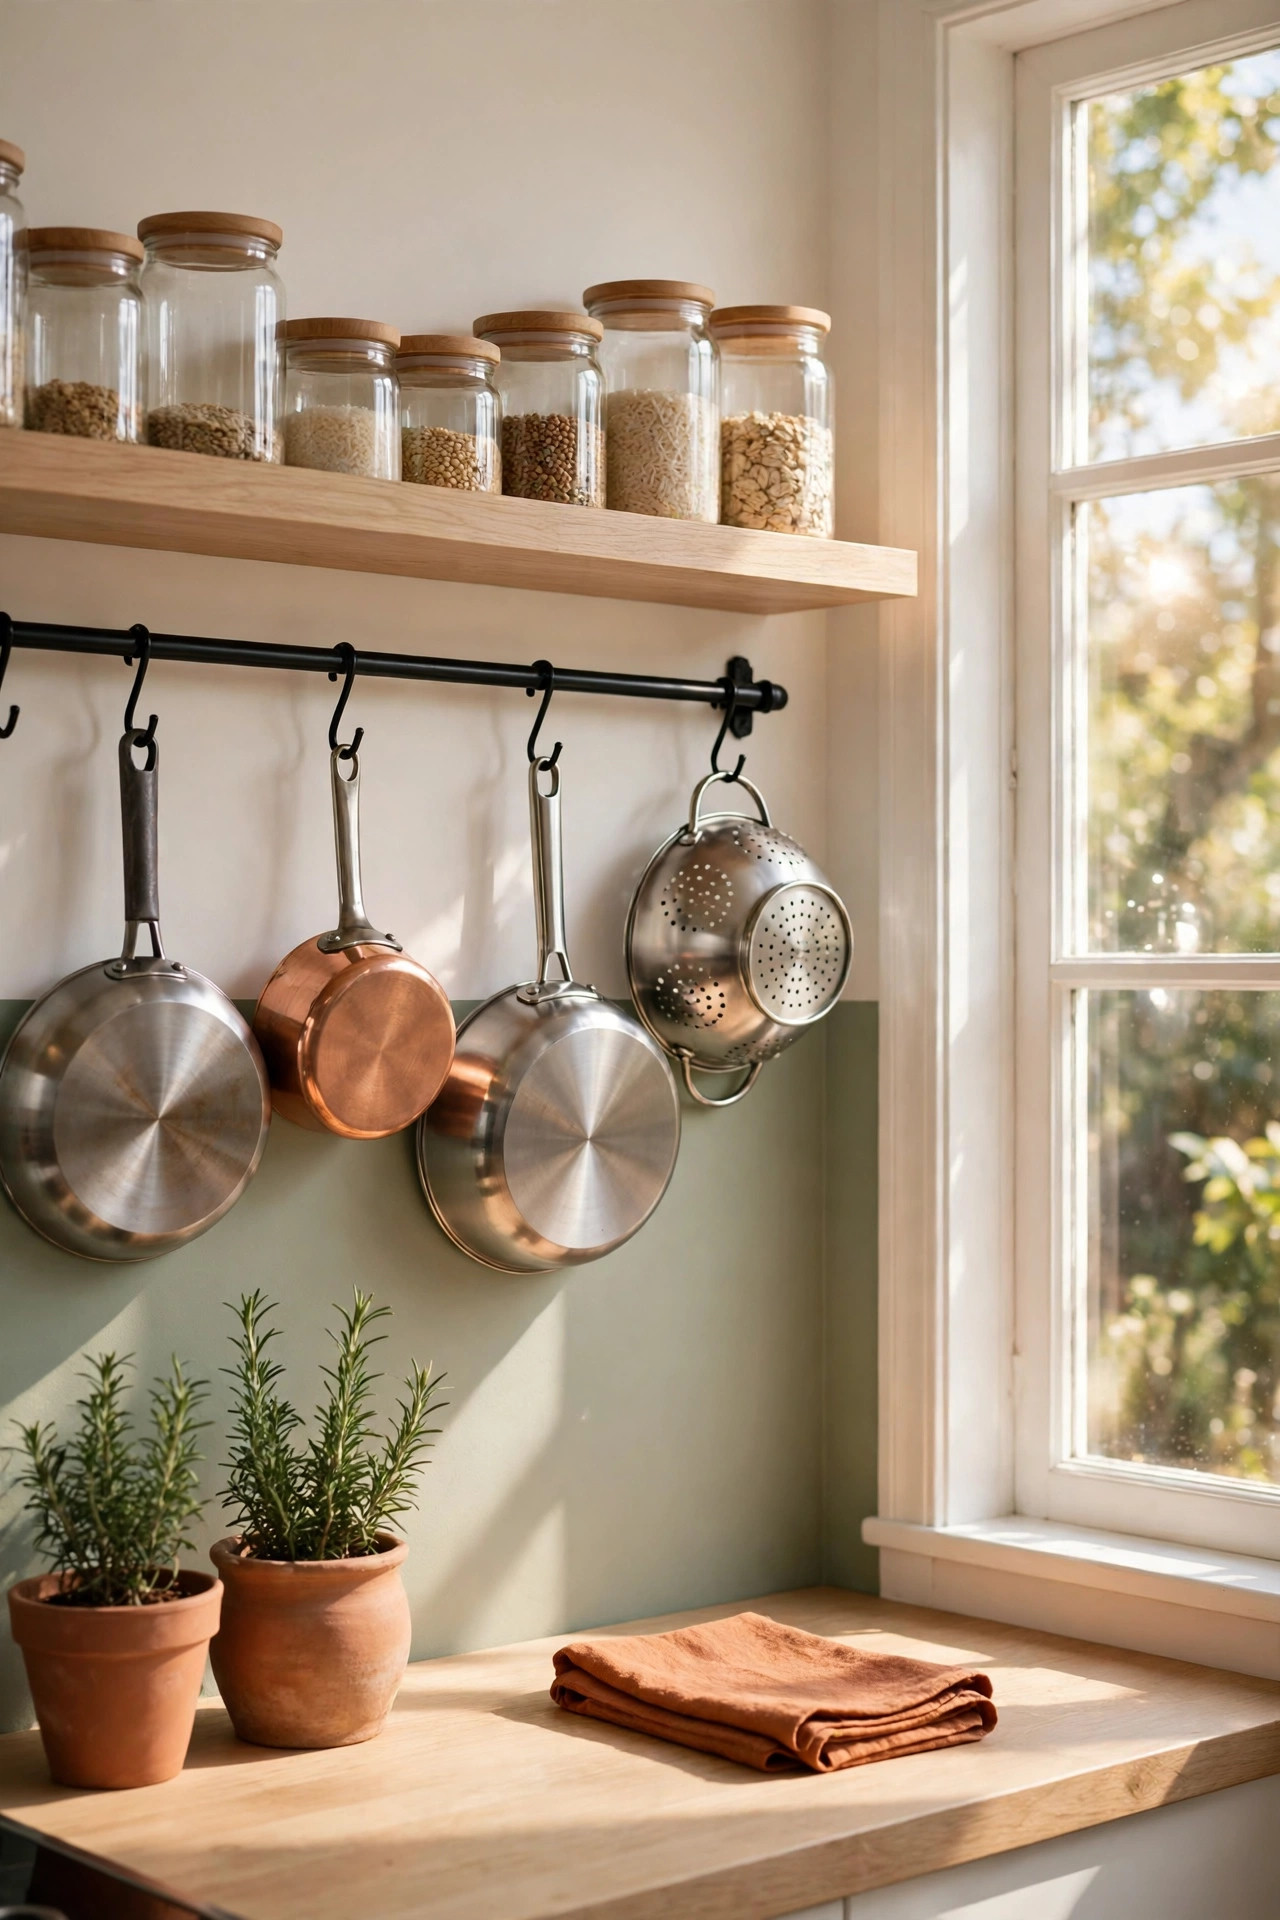
Idea 8: Hang tools instead of laying them down. A rail or adhesive hooks on a backsplash or cabinet door can hold measuring cups, scissors, and mitts. Hanging items do not form piles. Keep hooks at least 18 inches above a burner.
Idea 9: Dry dishes over the sink, not beside it. A counter dish rack can take up 16 by 12 inches of prime space. An over-sink rack or roll-up mat uses wasted space instead, and dishes move straight into cabinets when dry.
5. Cut the Appliance Lineup Down to Size
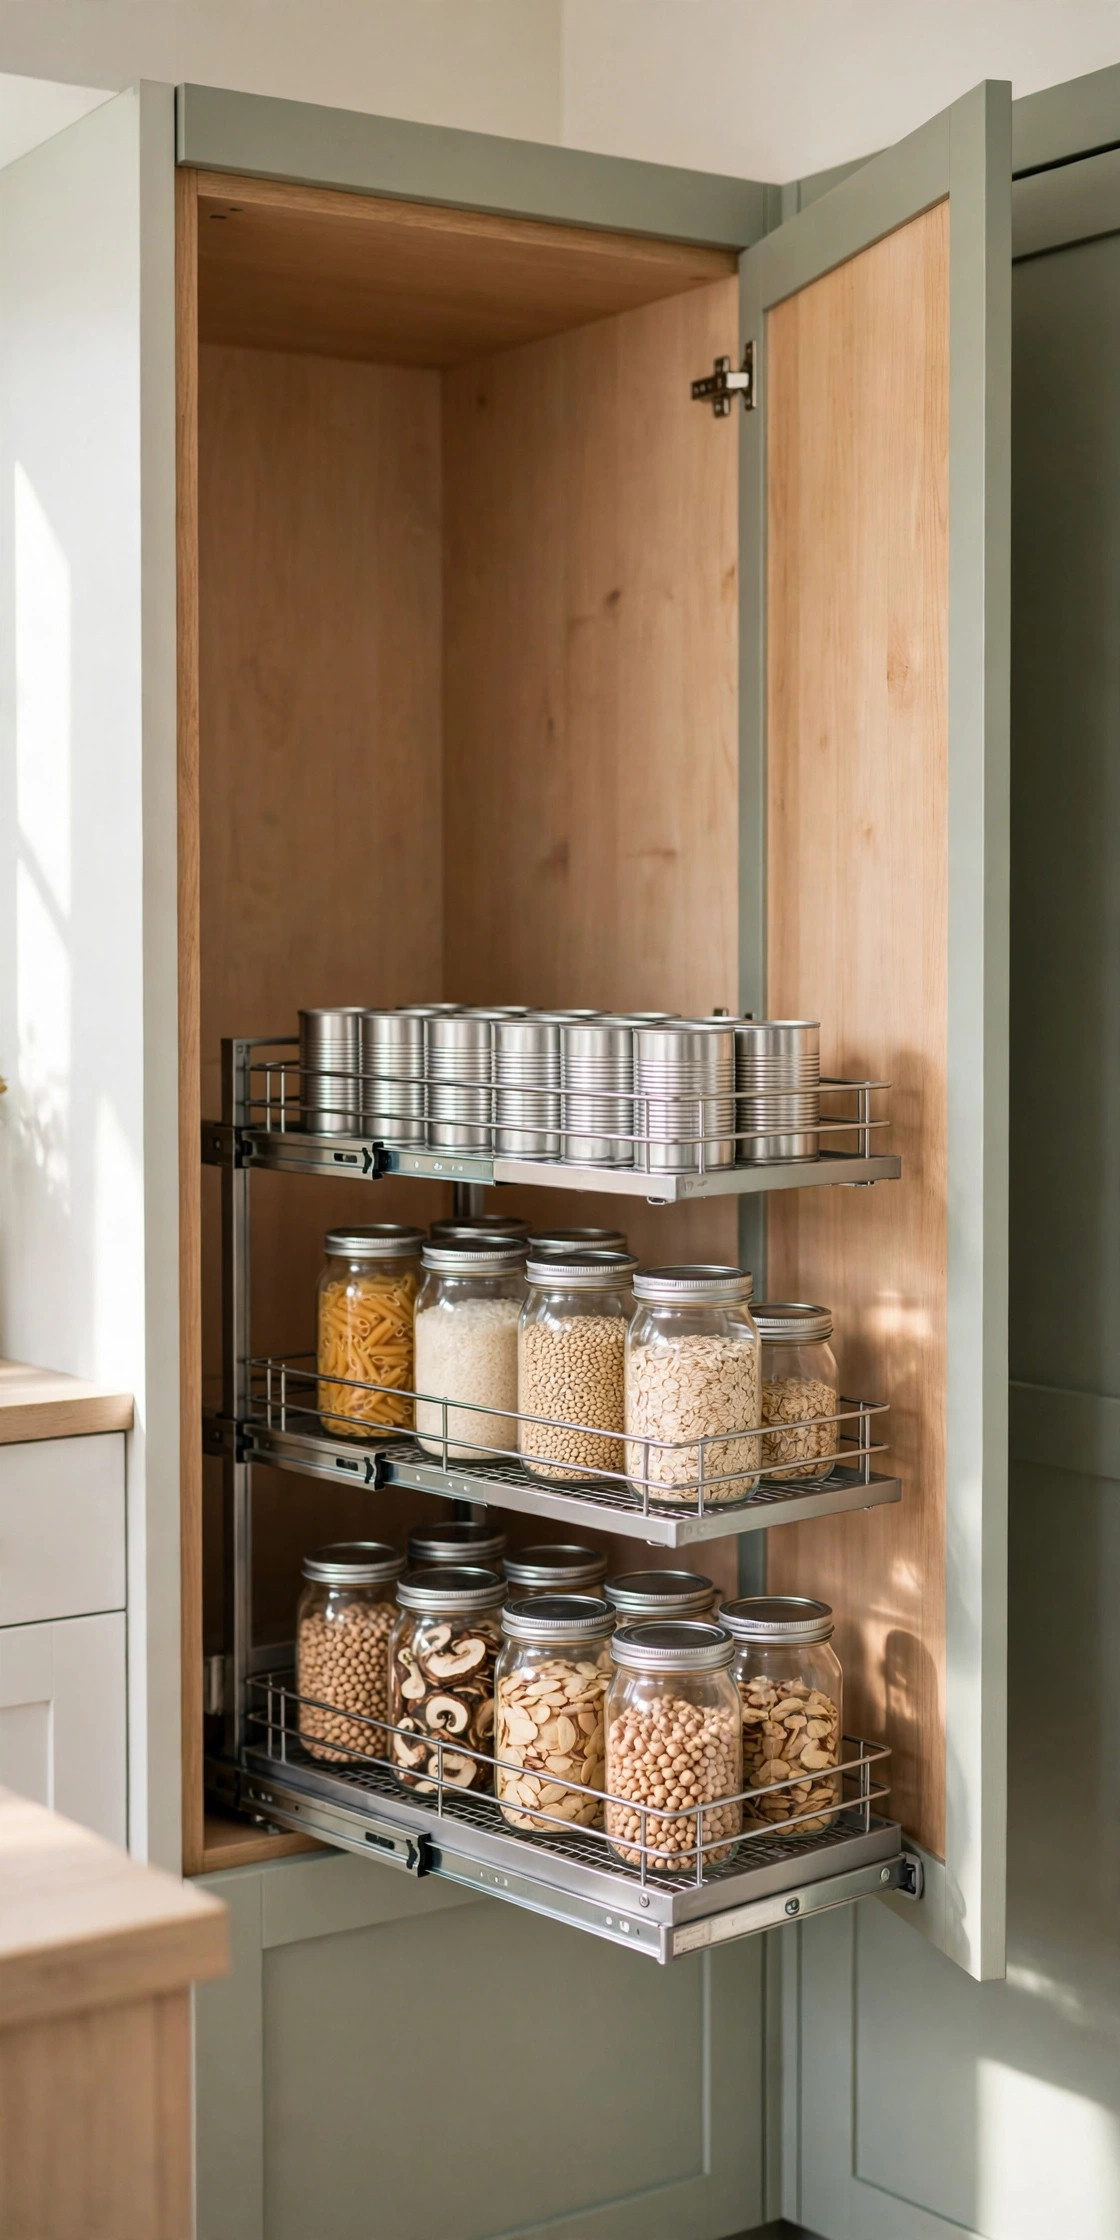
Idea 10: Store rarely used appliances in a cabinet. Toasters, waffle makers, and food processors used once a week or less can live on a low cabinet shelf or in a pantry. Most take under a minute to pull out.
Idea 11: Set a strict appliance limit. Two or three appliances out at once is a practical maximum in a small kitchen. If a new one comes in, another moves off the counter. This one-in, one-out rule stops slow creep.
6. Hide Food That Usually Sits Out
Idea 12: Put bread in a slim bread box. Loose bread bags, tortillas, and snack wrappers look messy and slide around. A slim bread box, about 16 inches wide or less, holds them in one neat block.
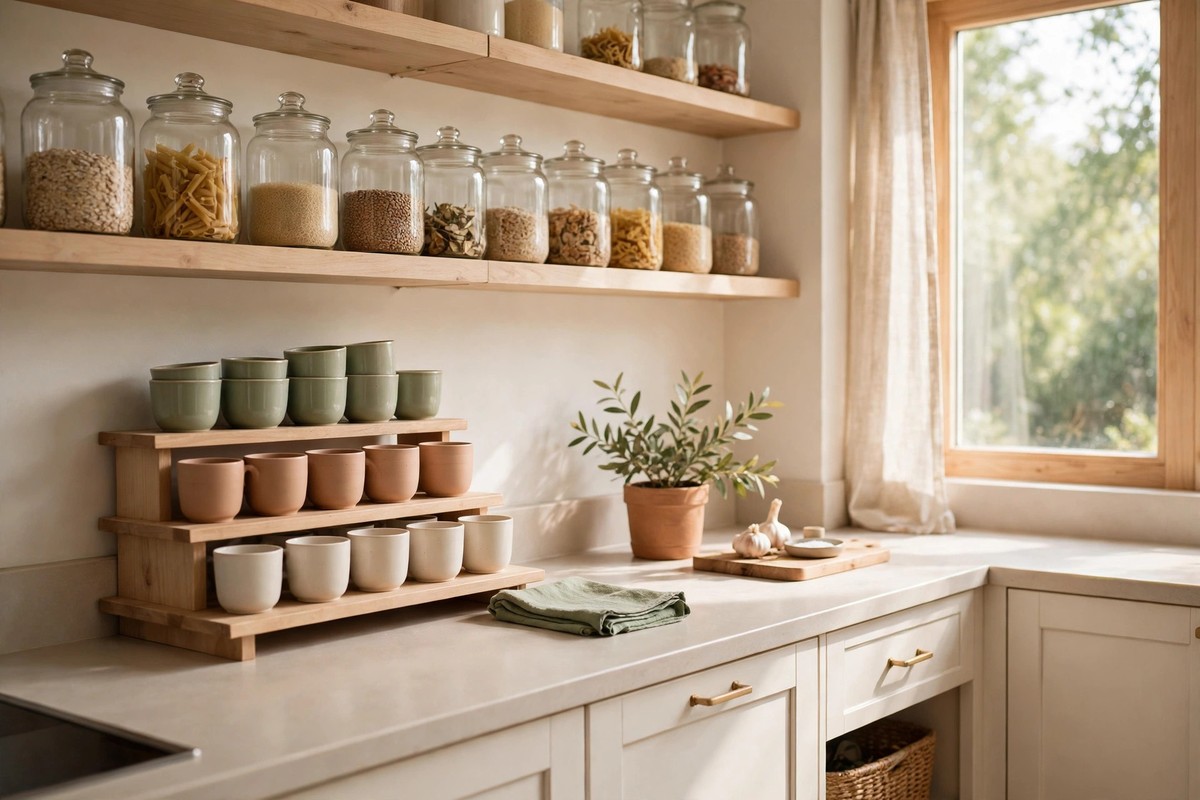
Idea 13: Move dry goods off the counter. Flour, sugar, and pasta belong in a cabinet or pantry, in clear bins if needed. Counter canisters often hold food used only a few times a week, so that space is better left open.
Idea 14: Limit fruit to one small bowl. One bowl, about 9 to 10 inches across, is a clear limit. Extra fruit goes in the fridge crisper. Two or three bowls plus loose bananas quickly read as clutter.
7. Protect the Clear Counter With Small Daily Habits
Idea 15: Give every returning item a named home. Clutter returns when an item has no set place. Decide exactly where each item goes: which cabinet, drawer, or shelf. If there is no room there, something in that spot likely needs to go.
Idea 16: Do a 5-minute nightly reset. Set a timer for five minutes after dinner. Put away stray items and wipe the surface. Five minutes a day is far easier than an hour of decluttering once a month.
What to Buy
None of these items is required. Buy only for a problem that still exists after decluttering.
Small tray or counter corral, typically $10–$20. Pro: sets a firm limit for sink items and lifts easily for cleaning. Pro: works in almost any kitchen. Skip if counter depth is under 12 inches.
Under-cabinet paper towel holder, typically $10–$20. Pro: frees a full circle of counter space and keeps the roll dry. Pro: low cost and fast to install. Con: some models need screws, so renters may prefer adhesive versions.
Over-sink dish drying rack, typically $25–$40. Pro: moves drying dishes off the counter and drips straight into the sink. Pro: many models roll up or fold away. Skip if a tall faucet blocks the rack.
Slim bread box, typically $20–$35. Pro: hides loose bags in one tidy block. Con: it still takes counter space, so measure first. Skip if bread can simply live in a pantry or cabinet.
Stackable clear storage drawers, typically $20–$30. Pro: useful in a pantry or cabinet for dry goods moved off the counter. Con: they solve storage out of sight, not on the counter, so buy them for cabinet space.
Mistakes to Avoid
- Buying organizers before decluttering. Bins for items that should leave just store the clutter better.
- Keeping an item out just in case. If it has not been used in 30 days, it has not earned counter space.
- Spreading one category across the kitchen. Groups in several spots make tidying slow.
- Letting one clear zone become a drop zone. The first item left out attracts more within a day.
Frequently Asked Questions
What should never be stored on kitchen counters?
Rarely used appliances, paperwork, mail, and extra decor are the top items to move. They take space, collect grease and dust, and slow down cleaning. Daily tools, like a coffee maker used every morning, are reasonable exceptions if space allows.
How many appliances should stay on a small kitchen counter?
Two or three is a practical limit for most small kitchens. Choose the ones used every single day and store the rest in a cabinet or pantry. The small effort of pulling one out is minor compared with losing prep space all day.
How can renters declutter counters without drilling holes?
Use adhesive hooks, over-sink racks, trays, and tension rods inside cabinets instead of screw-mounted items. These add storage and can be removed later. Always check weight limits, and avoid hanging heavy items above a stove or sink.
How long does a full counter declutter take?
For a small kitchen, plan on 60 to 90 minutes for the full reset, sorting, and putting items away. The nightly reset after that takes about five minutes. Splitting the job by zone makes it easier to finish in shorter sessions.
Clear counters are not about a perfect kitchen. They are about open space to cook and clean without shifting piles first. Save this post to your kitchen board for later, and work through one zone at a time.