Custom kitchen storage can cost hundreds of dollars, but the look comes from order, not price. Matching bins, clear zones, and labels facing the same way make a tiny kitchen feel planned. That is why dollar store kitchen organization hacks work: low-cost basics, used the same way in every cabinet, create a clean, uniform result.
Most true dollar store finds cost about $1.25 to $5 each, so one cabinet can change for the price of a single branded organizer. Shop with measurements: note cabinet width, depth, and shelf height in inches, and pick one bin style and one label style for the whole kitchen.
These 19 hacks are grouped by area. Most take 10 to 20 minutes each. Start with the worst cabinet, finish it fully, then move on.
1. Pantry Hacks With Dollar Store Kitchen Organization Hacks
Hack 1: Add shelf risers to double space. Place a riser about 10 inches wide on a shelf. Plates or bowls go under it, smaller items on top. One riser adds a full layer in a 12 inch tall section.
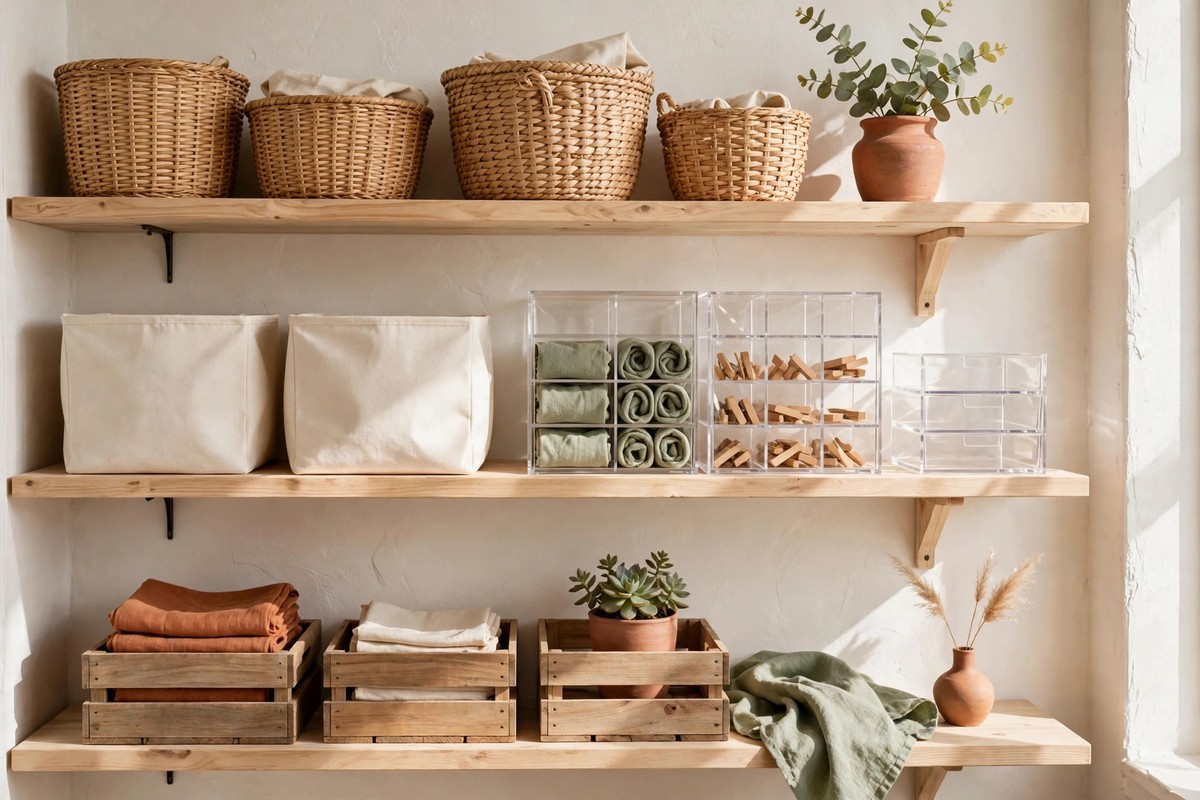
Hack 2: Corral packets in matching clear bins. File seasoning and sauce packets upright in bins about 6 by 4 inches. Packets stop slipping behind cans, and empty space shows what to restock.
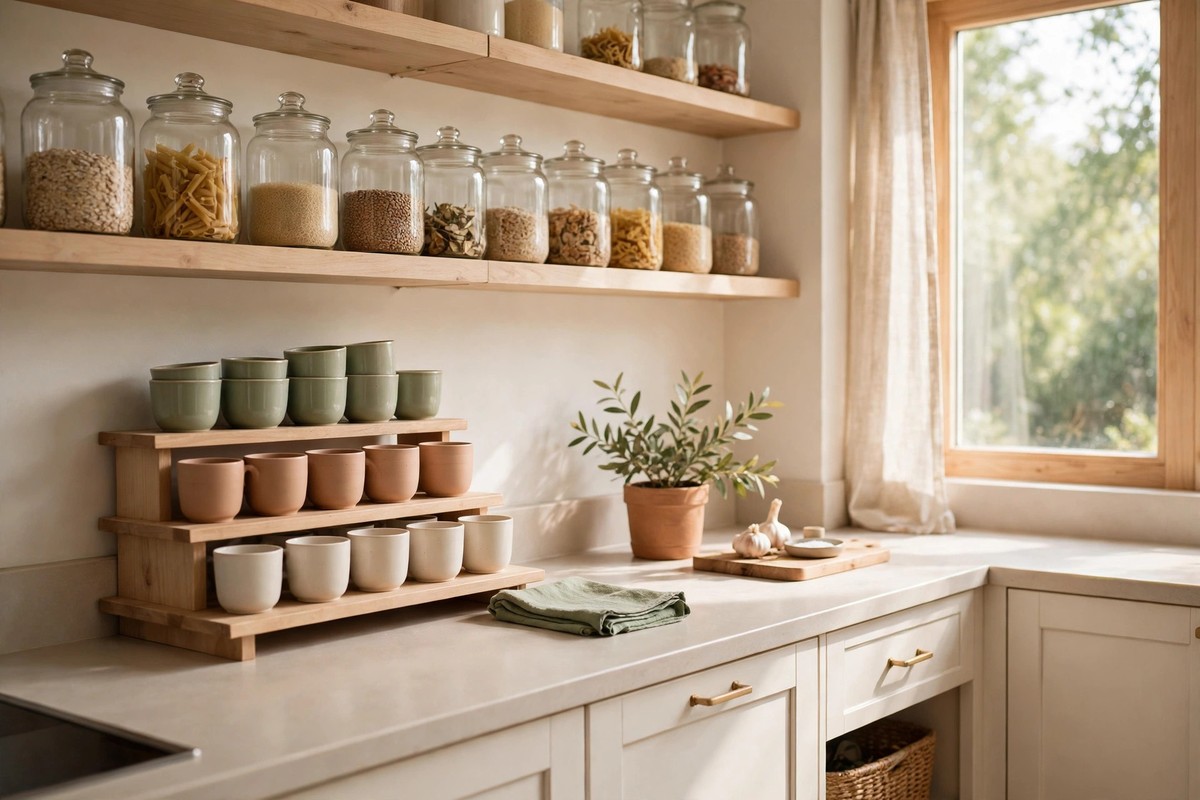
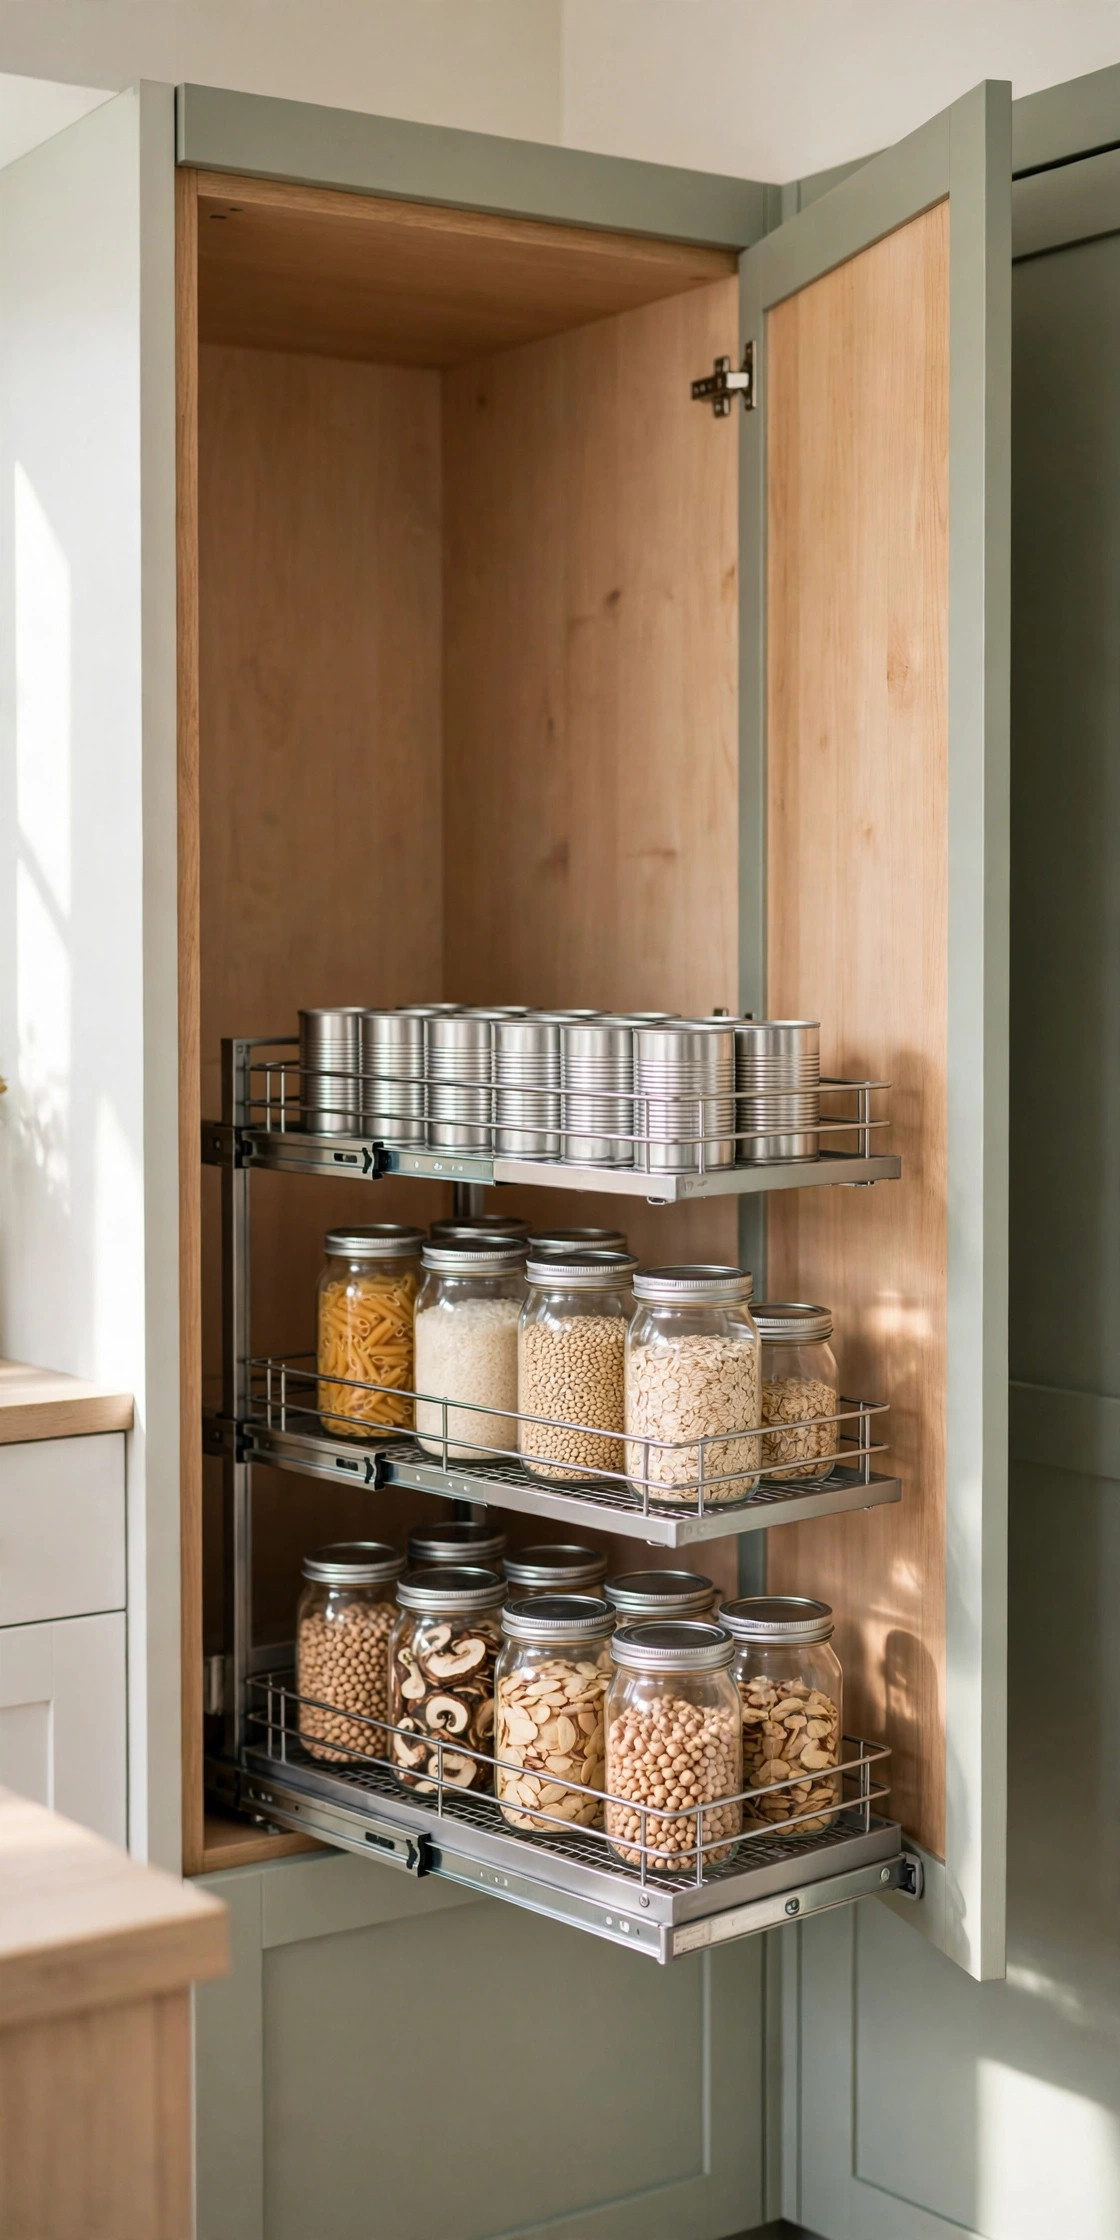
Hack 3: Decant staples into uniform containers. Pour rice, oats, pasta, and flour into the same style of clear container with matching lids. Uniform shapes line up without gaps and look built-in.
Hack 4: Step cans and spices so labels show. Raise back rows 2 to 3 inches on a stepped riser. Every label stays visible, so duplicate buys drop sharply.
2. Drawer Hacks That End the Junk Jumble
Hack 5: Sort utensils with a clear drawer bin set. Give forks, spoons, and serving tools their own long compartments. Most utensil drawers are 15 to 18 inches wide, so measure first.
Hack 6: Zone the junk drawer by task. Use four small labeled bins: batteries, tape and glue, basic tools, and cords. Any item can then be found in seconds, not minutes.
Hack 7: File tea and coffee packets upright. Narrow bins about 4 inches wide hold tea bags and coffee pods in rows near the mugs. This frees a shelf that loose boxes filled.
3. Door and Wall Hacks for Hidden Storage
Hack 8: Hang an over-door hook rack. Fit a rack with 4 to 6 hooks over a pantry door for aprons, mitts, and shopping bags. Check that the door still closes freely first.
Hack 9: Hook measuring cups inside a cabinet door. Add adhesive hooks in a row and hang cups and spoons by their rings. They stay sorted by size, right above the mixing bowls.
Hack 10: Stand wrap boxes in a door rack. Place foil, wrap, and parchment boxes upright in a slim rack inside a cabinet door. They take about 2 inches of depth, not a full drawer.
4. Under-Sink Dollar Store Kitchen Organization Hacks
Hack 11: Hang spray bottles from a tension rod. Fit a rod about 18 to 24 inches long across the top of the sink cabinet. Hang bottles by their trigger handles, leaving the floor free for bins.
Hack 12: Bin sponges and refills separately. Use one waterproof bin, about 8 by 6 inches, for sponges and brushes, and a second for dry refills and trash bags. Leaks show fast, and damp stays apart from dry.
Hack 13: Add a turntable for back-corner bottles. Place soap refills and backup cleaners on a small turntable. One spin brings the back row forward, so bottles stop being forgotten behind pipes.
5. Counter and Fridge Hacks That Cut Clutter
Hack 14: Corral counter basics on one tray. Group oil, salt, and a utensil crock on a tray about 12 by 8 inches by the stove. If it does not fit the tray, it does not stay out.
Hack 15: Give fridge packets a clear front bin. Keep cheese slices, sauce packets, and snack bars in one clear bin about 8 inches wide. When it overflows, use the oldest items first.
Hack 16: Hang a basket for onions and garlic. Clip a small basket inside a pantry door or on a wall hook. Air moves around the produce, and loose bags stop spilling across shelves.
6. Lids, Boards, and the Custom Finish
Hack 17: File boards and trays with a tension rod. Fit a rod top to bottom in a deep cabinet to hold cutting boards and baking sheets upright, like files. Each board uses about 3 inches.
Hack 18: File lids in a narrow basket. Stand pot lids and container lids upright, sorted large to small. A basket about 10 inches long holds 6 to 8 lids, all easy to match.
Hack 19: Finish every zone with matching labels. Add the same simple label to every bin: plain white or kraft, black text. Label by contents, not brand, so bins can be reused.
What to Buy
Start with items for the first cabinet. Take measurements and a photo of each cabinet before shopping.
Small clear bins and baskets, about $1.25–$5 each at dollar stores. Pro: One style in every cabinet creates the custom look for very little. Con: Thin plastic can crack under heavy cans.
15-piece clear drawer bin set, typically $10–$16. Pro: Mixed sizes fit utensils, junk drawers, and tea packets in one purchase. Skip if: Drawers are under 3 inches deep.
Tension rods, typically $8–$15. Pro: Rods hang spray bottles and file boards upright, with no screws, which suits rentals. Con: Rods can slip under heavy loads.
Cabinet shelf risers, typically $15–$25. Pro: Risers double plate, bowl, and can storage in tall cabinets. Skip if: A riser would leave under 5 to 6 inches of clear space above it.
Small lazy Susan turntable, typically $10–$20. Pro: A 10 to 12 inch turntable fixes deep corners under the sink and in the pantry. Con: Round edges waste some corner space.
Pro Tips
- Buy bins in one style. Mixed colors look messy even when contents are neat.
- Measure twice, shop once. Keep width, depth, and height in inches on a phone note.
- Leave 10 to 20 percent empty. Bins filled to the top spill fast.
- Photograph each finished cabinet. The photo shows where each item belongs later.
Frequently Asked Questions
How much does it cost to organize a whole kitchen this way?
A small kitchen can change a lot for about $25 to $50, using bins at about $1.25 to $5 each plus one or two larger items. Doing one cabinet at a time keeps costs lower.
Will cheap bins last, or do they break fast?
Thin bins last well with light items like packets, tea, and sponges. Heavy cans and dishes need sturdier risers or baskets. Matching bin strength to weight makes budget storage hold up.
How is the custom look kept over time?
Labels and limits do the work. Each bin has one job and a clear full point. A 10 minute reset once a month keeps the system close to the finished result.
What should be organized first for the biggest change?
Start with the space used most: the utensil drawer, pantry shelf, or sink cabinet. One finished, visible zone builds momentum, and counters improve fast once a tray rule is in place.
Order, matching bins, and clear labels matter far more than price when a kitchen needs to look custom and work well. Save this post to your kitchen board for later, and take the measurements list on the next dollar store trip.